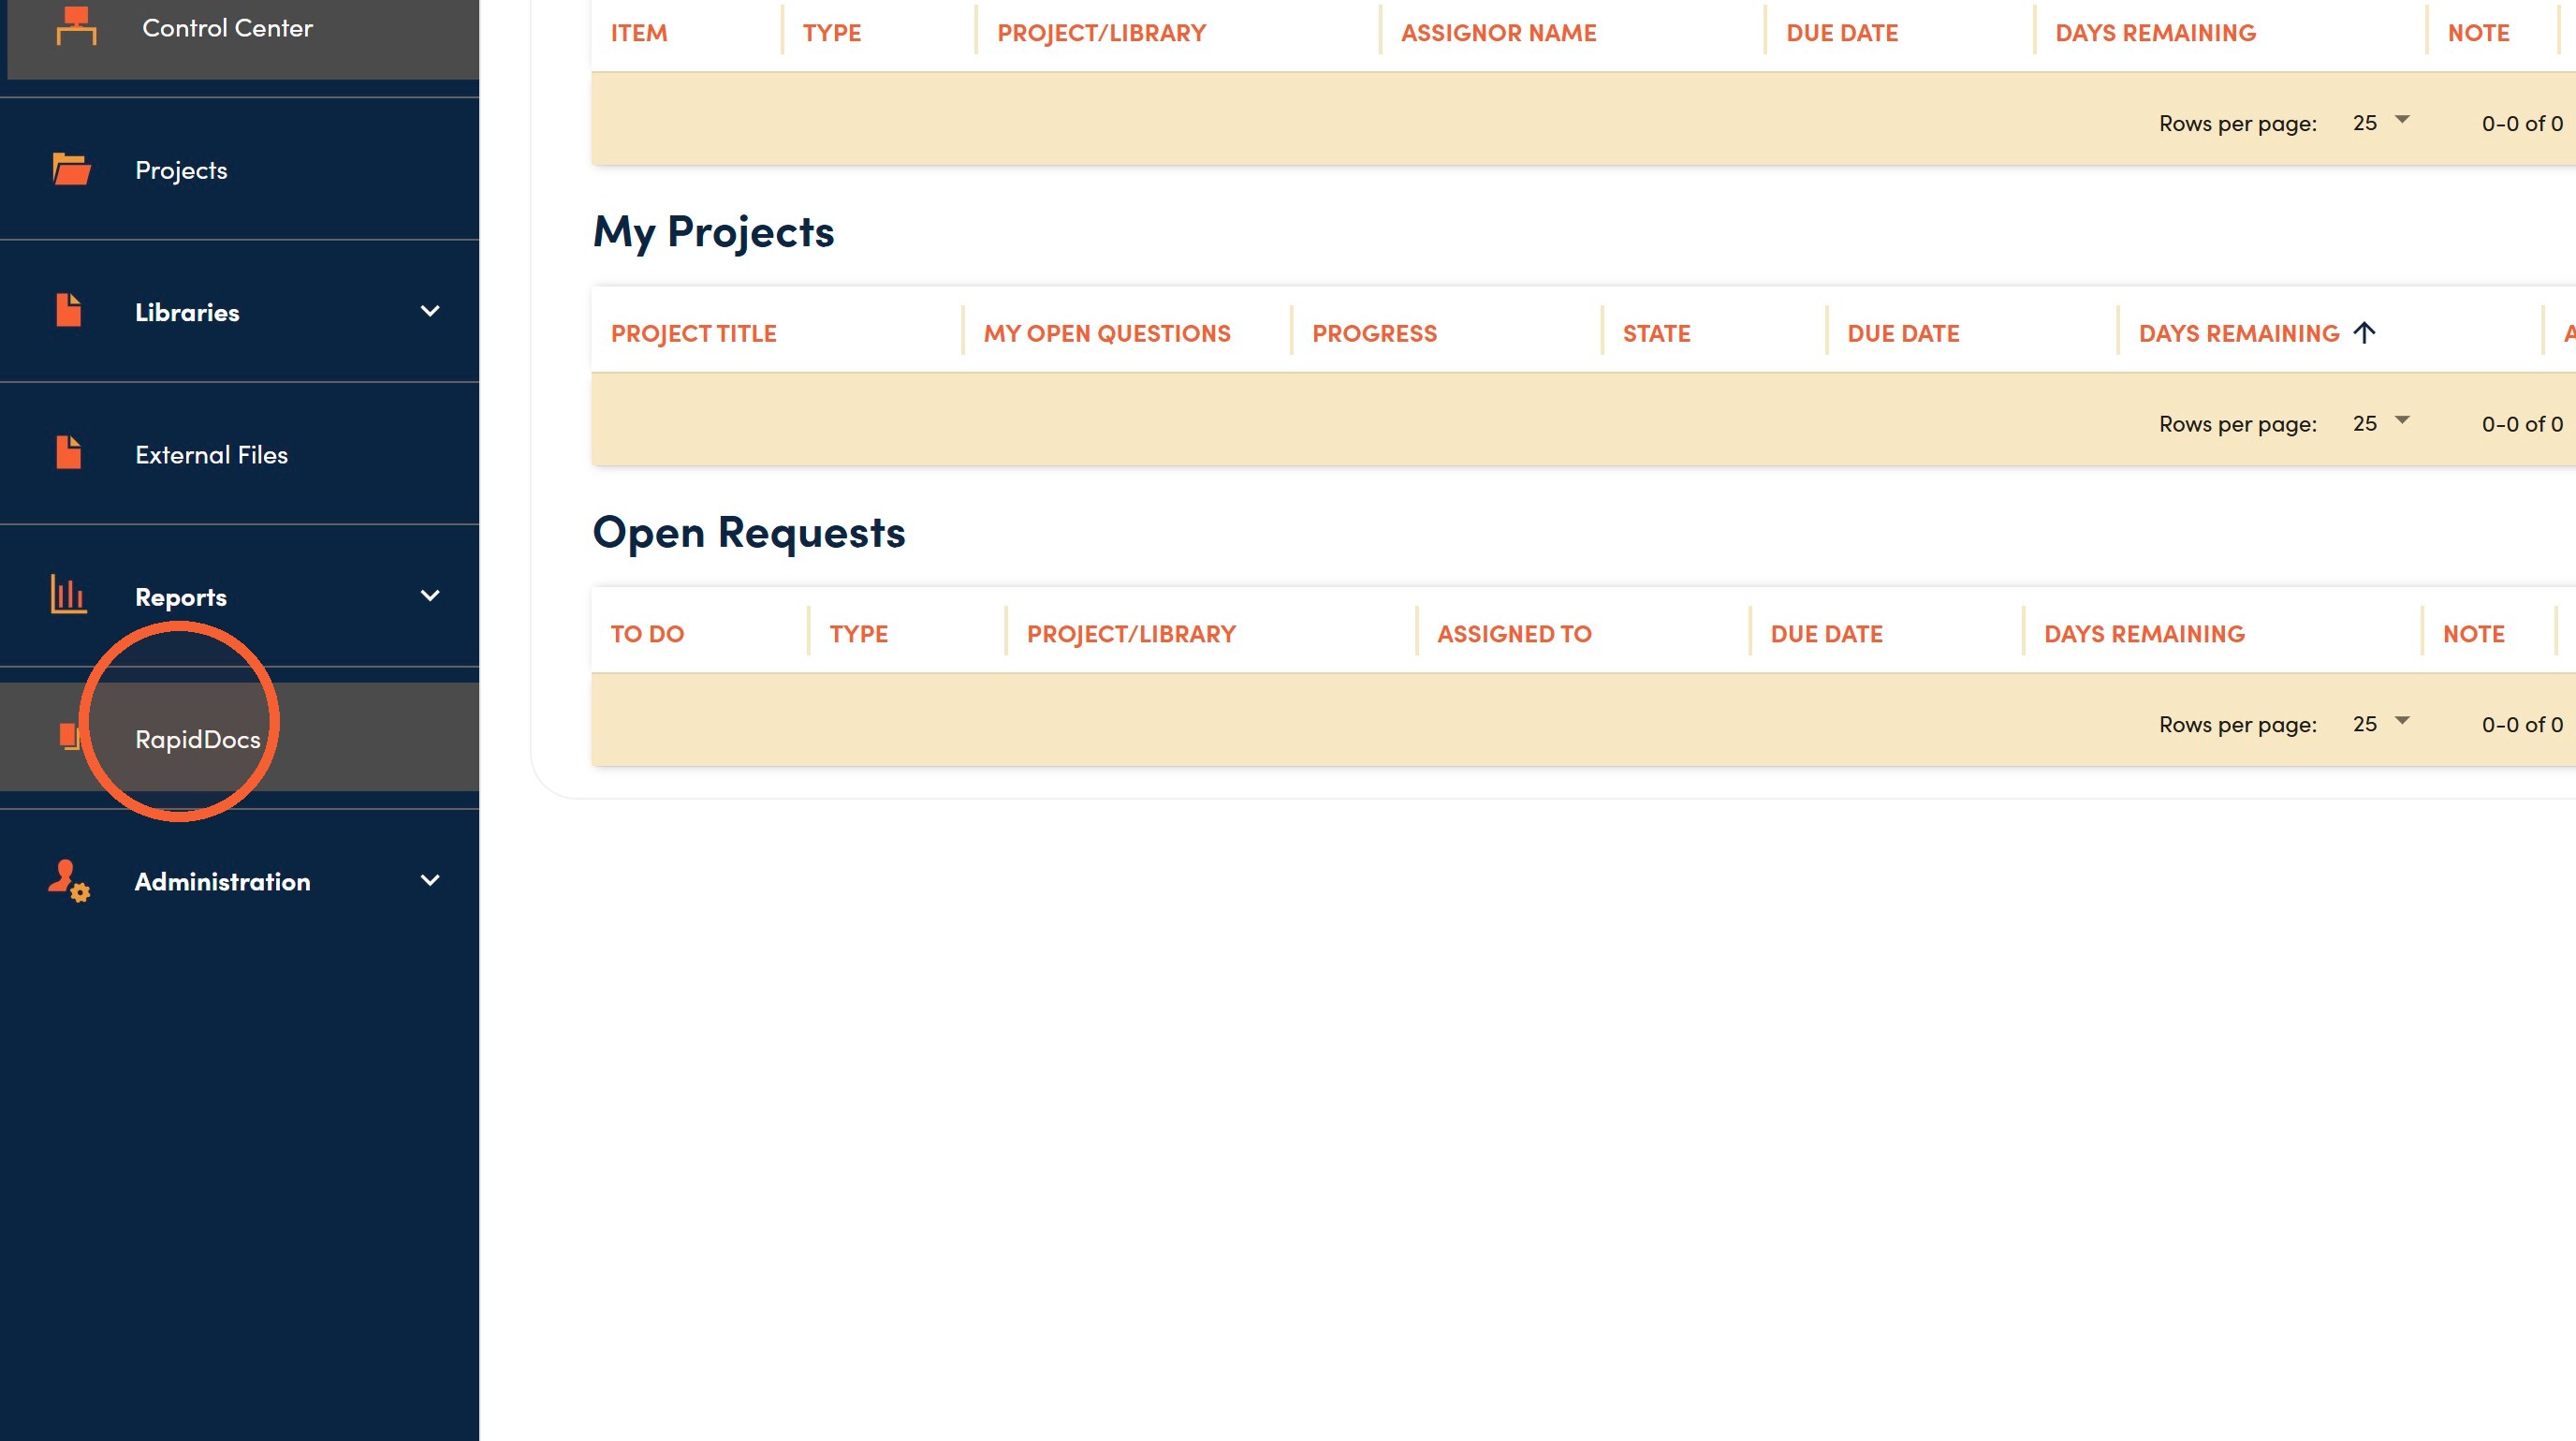
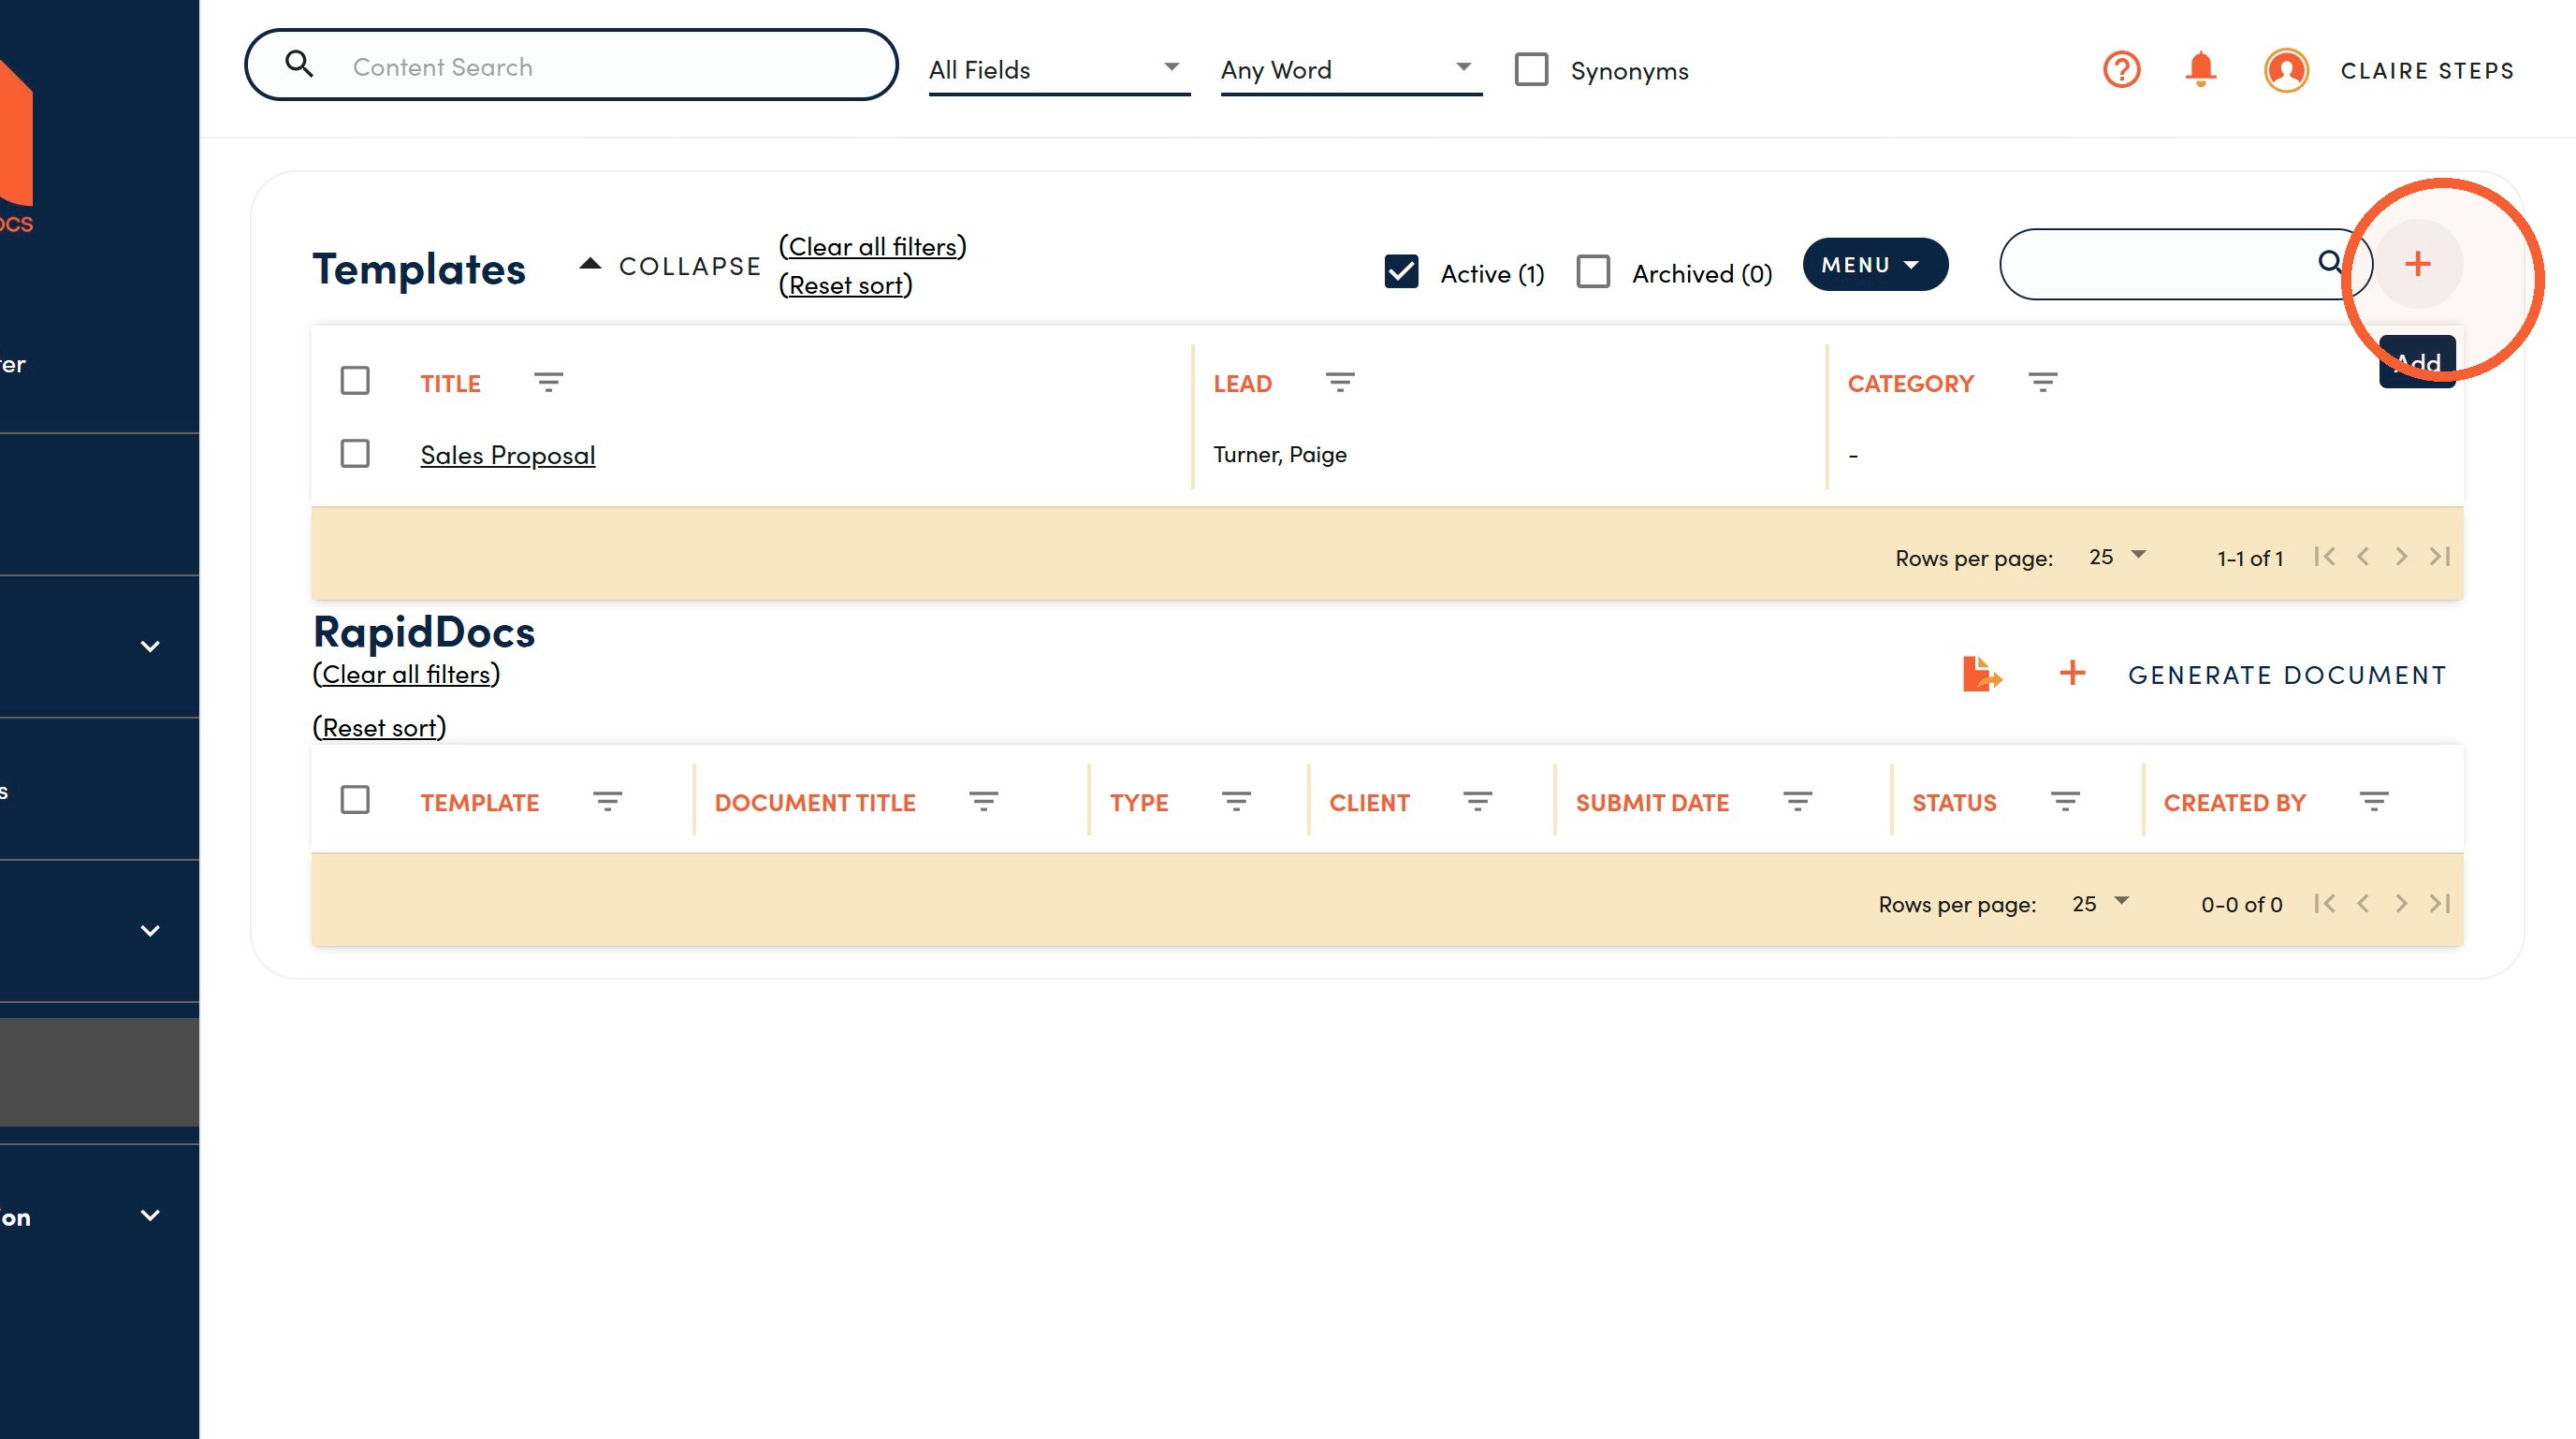
2. Click Add to create a new template.
3. Enter a Title for your RapidDoc template.
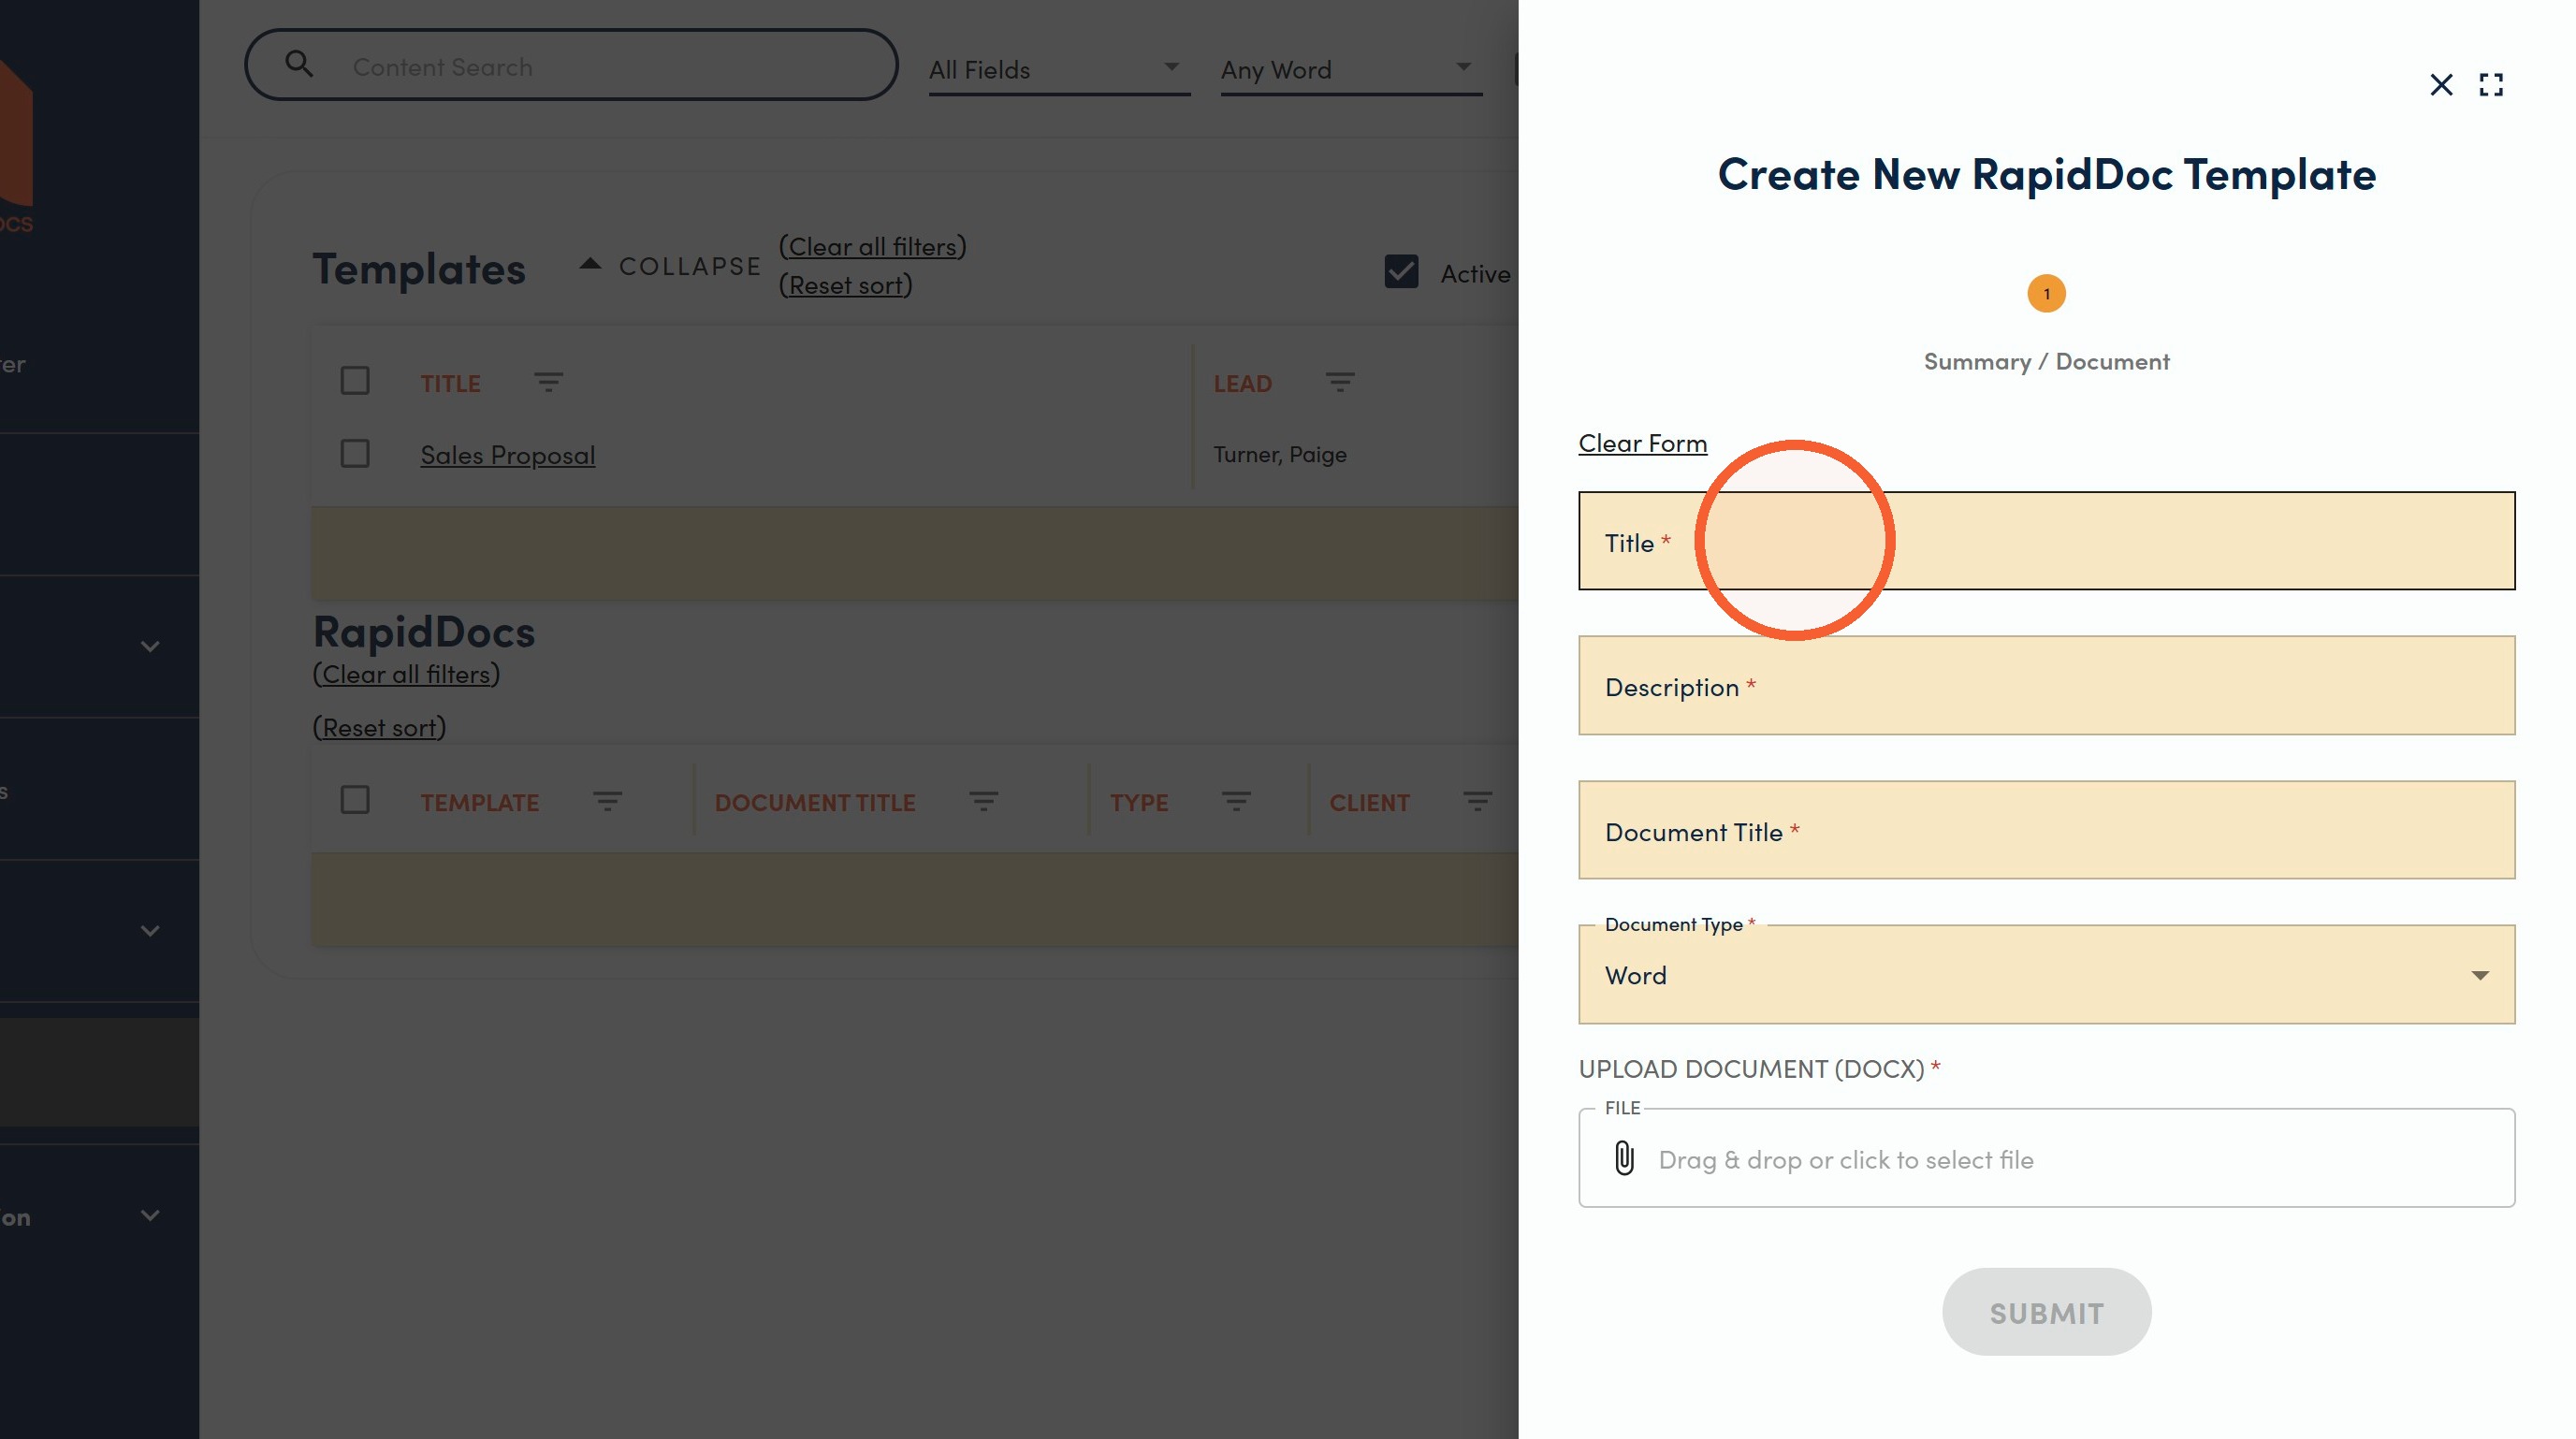
4. Add a Description.
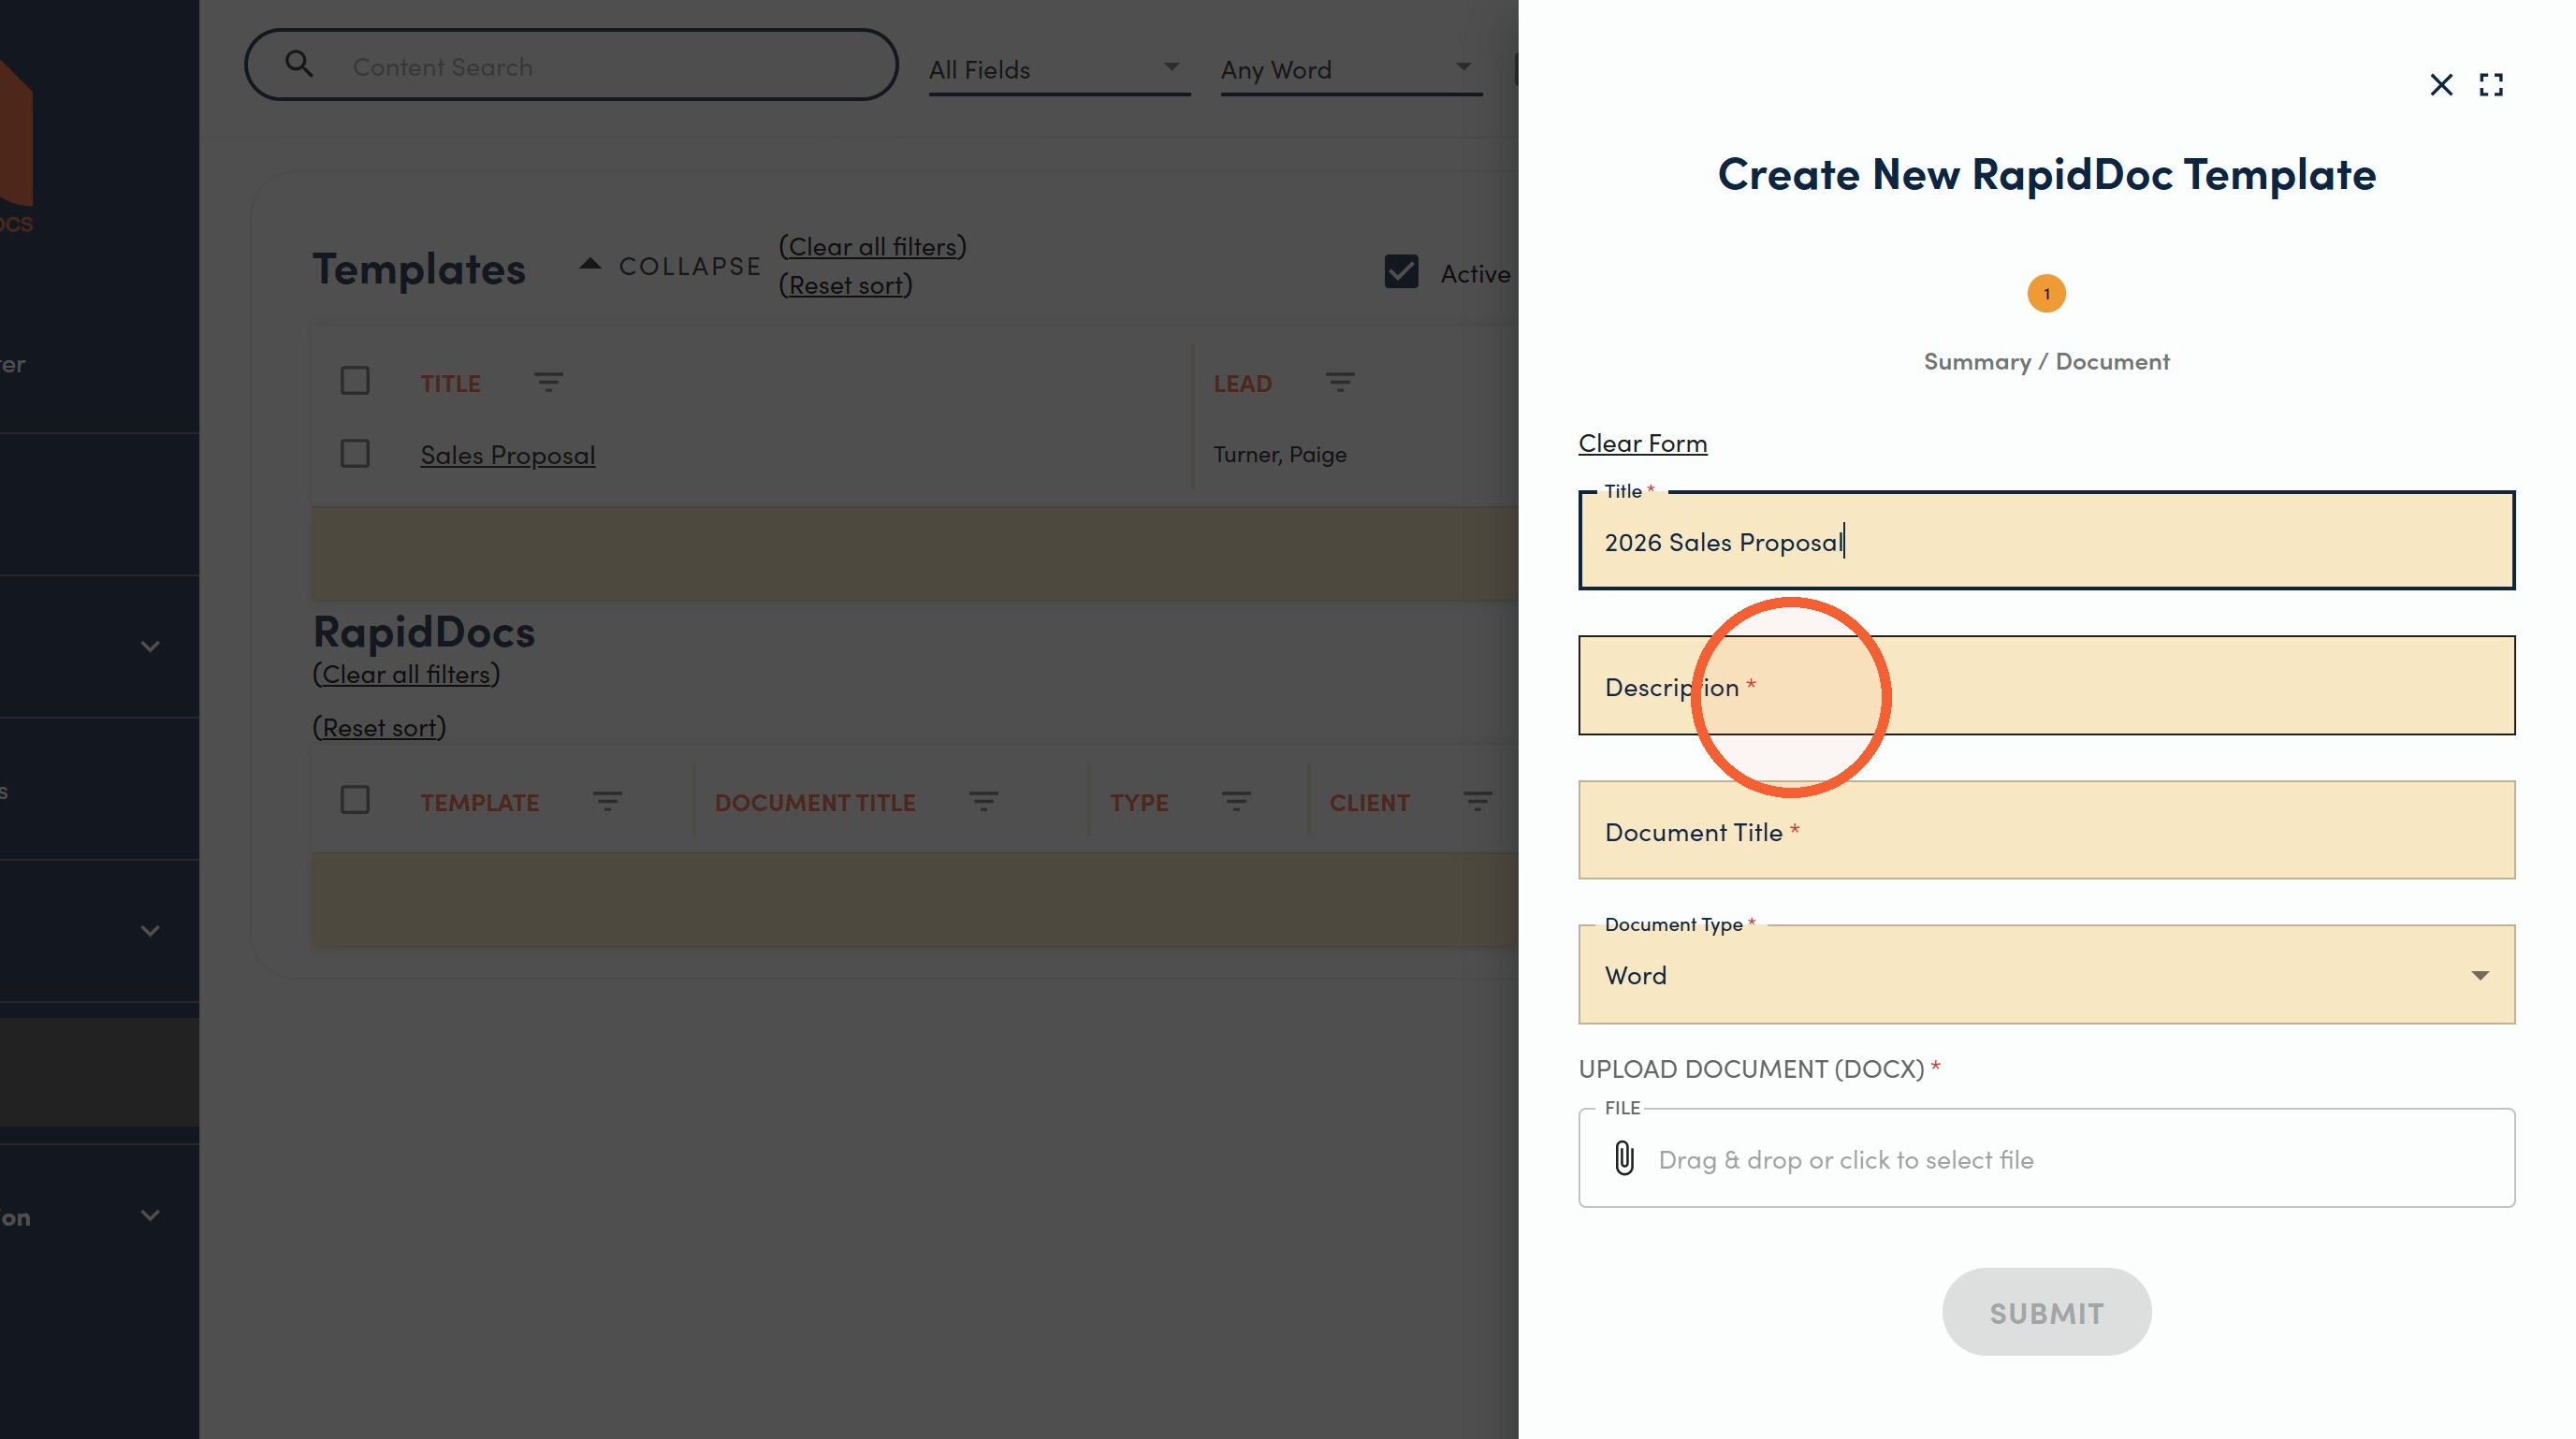
5. Add a Document Title. This is the default file name your users will see when selecting which document to generate.
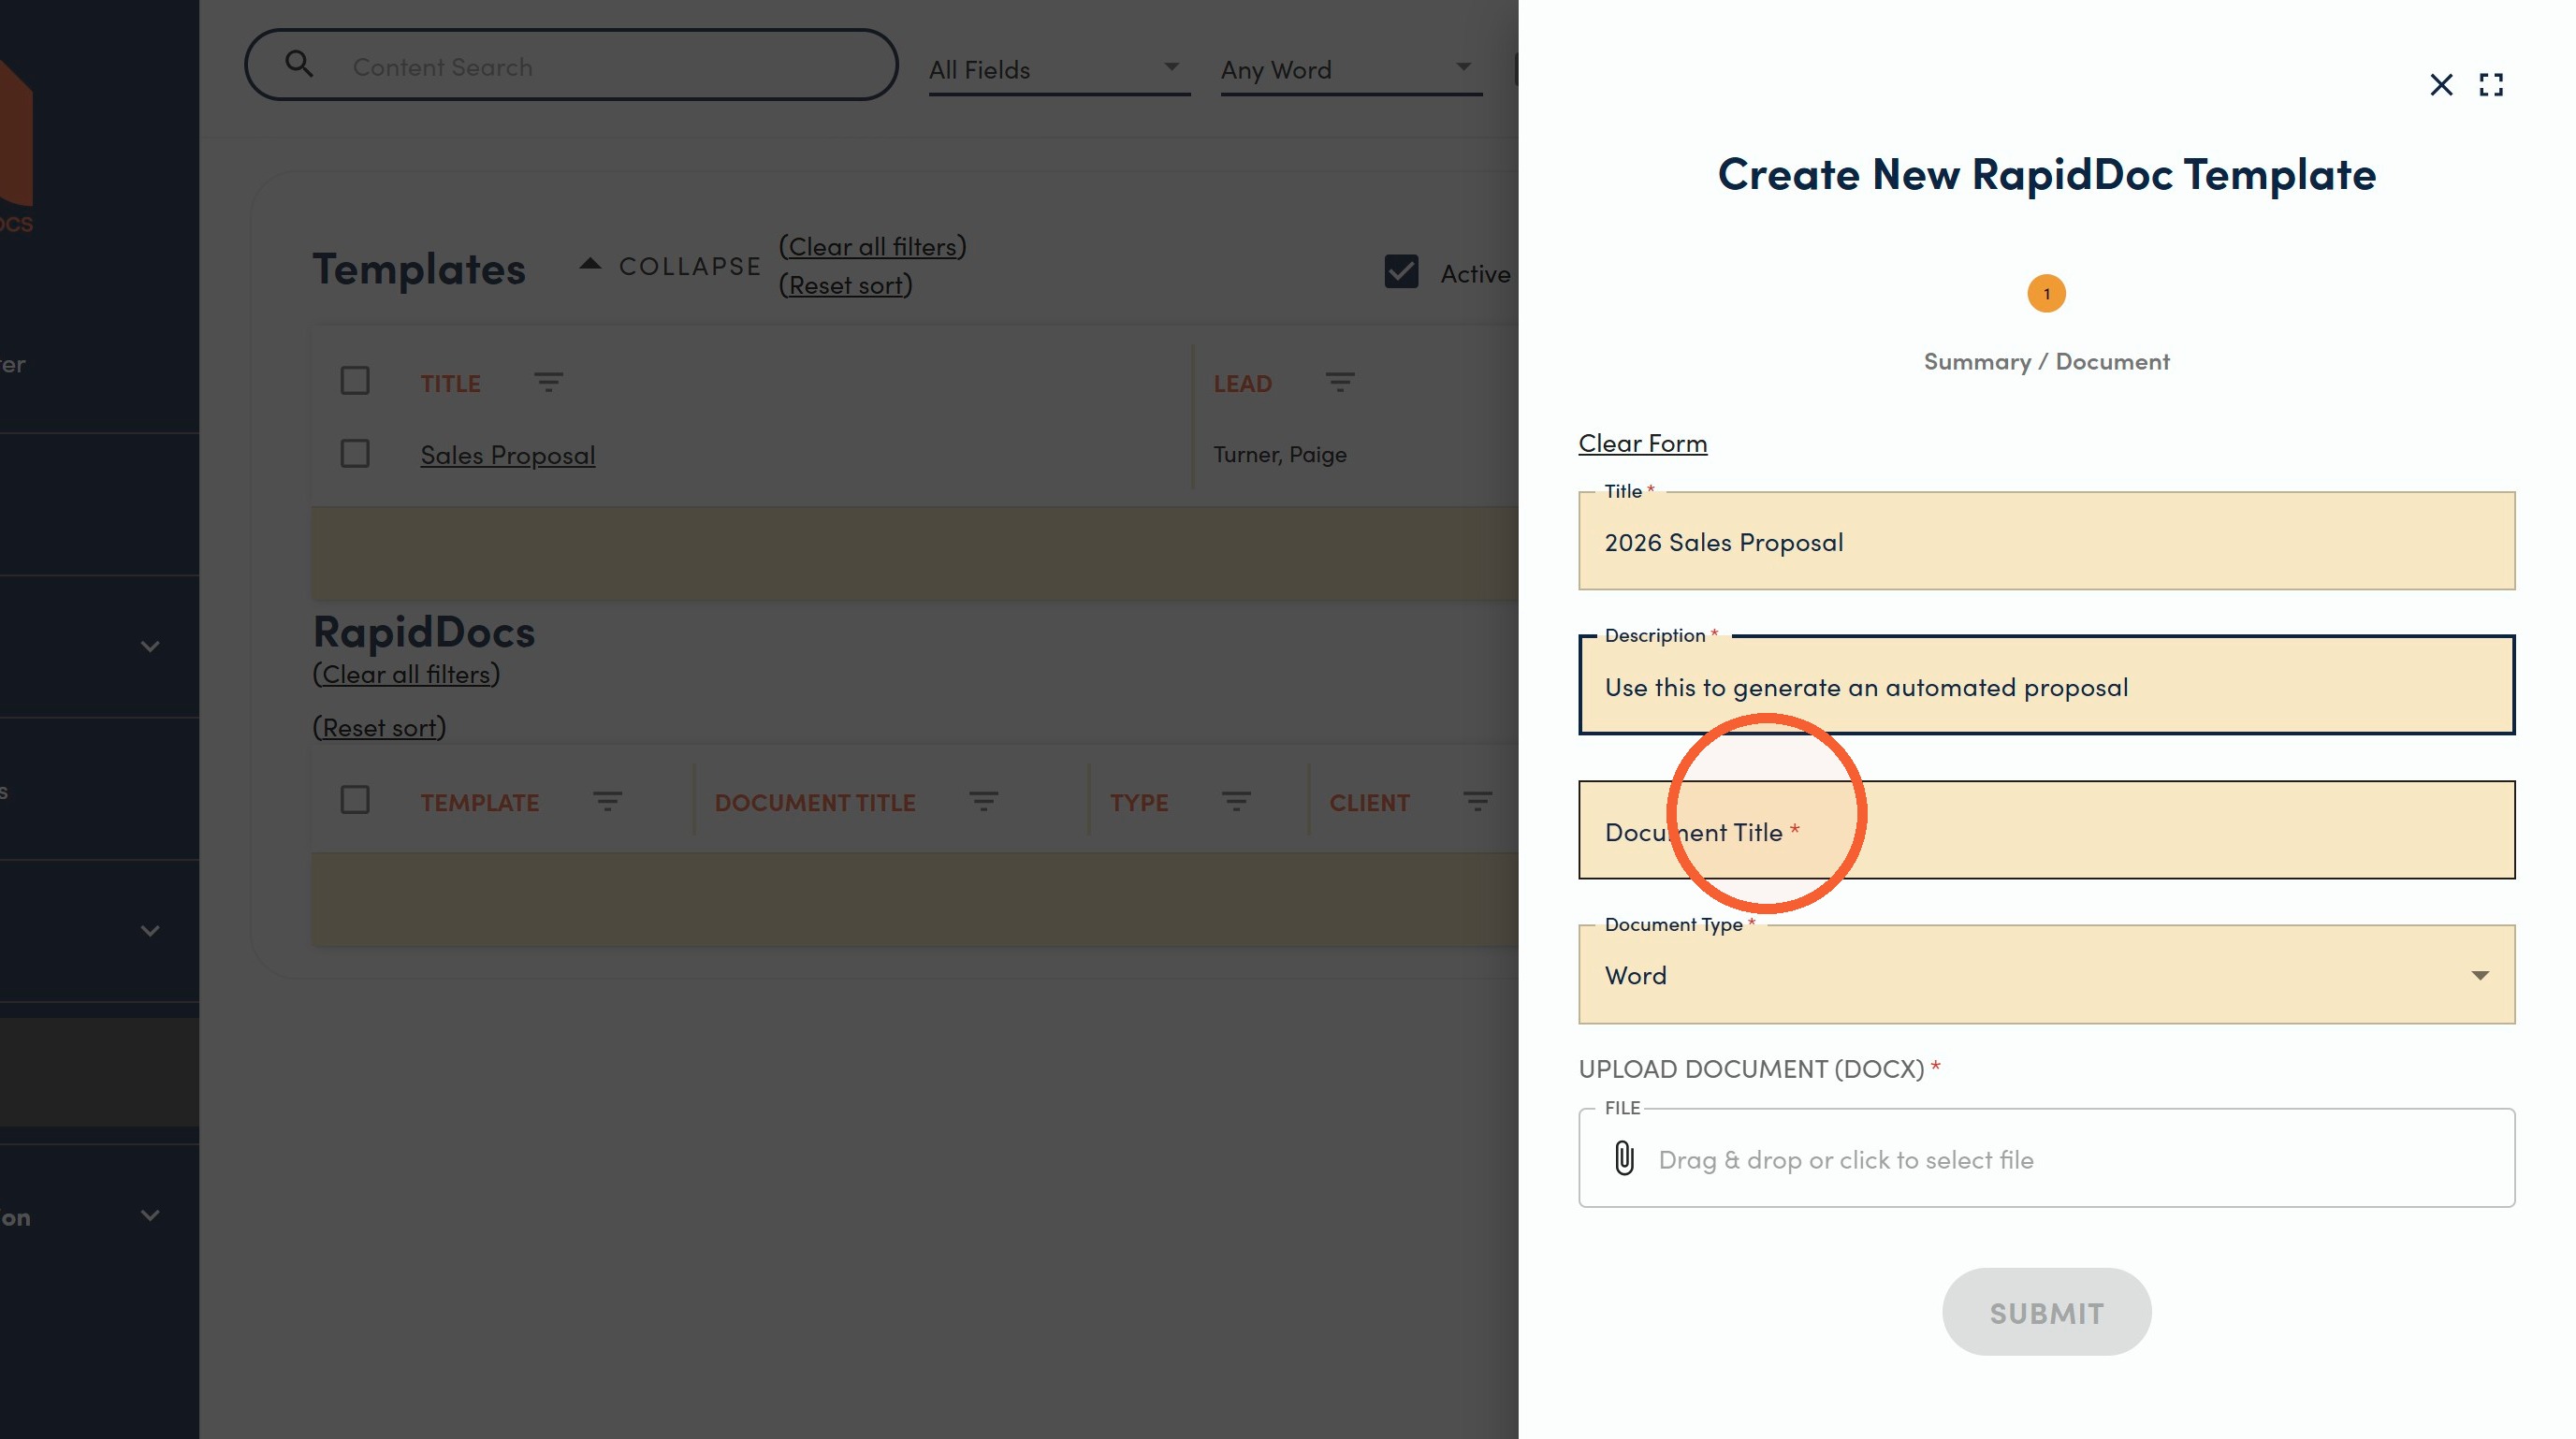
6. Choose Word or PPT. Each RapidDoc template can only have one file type.
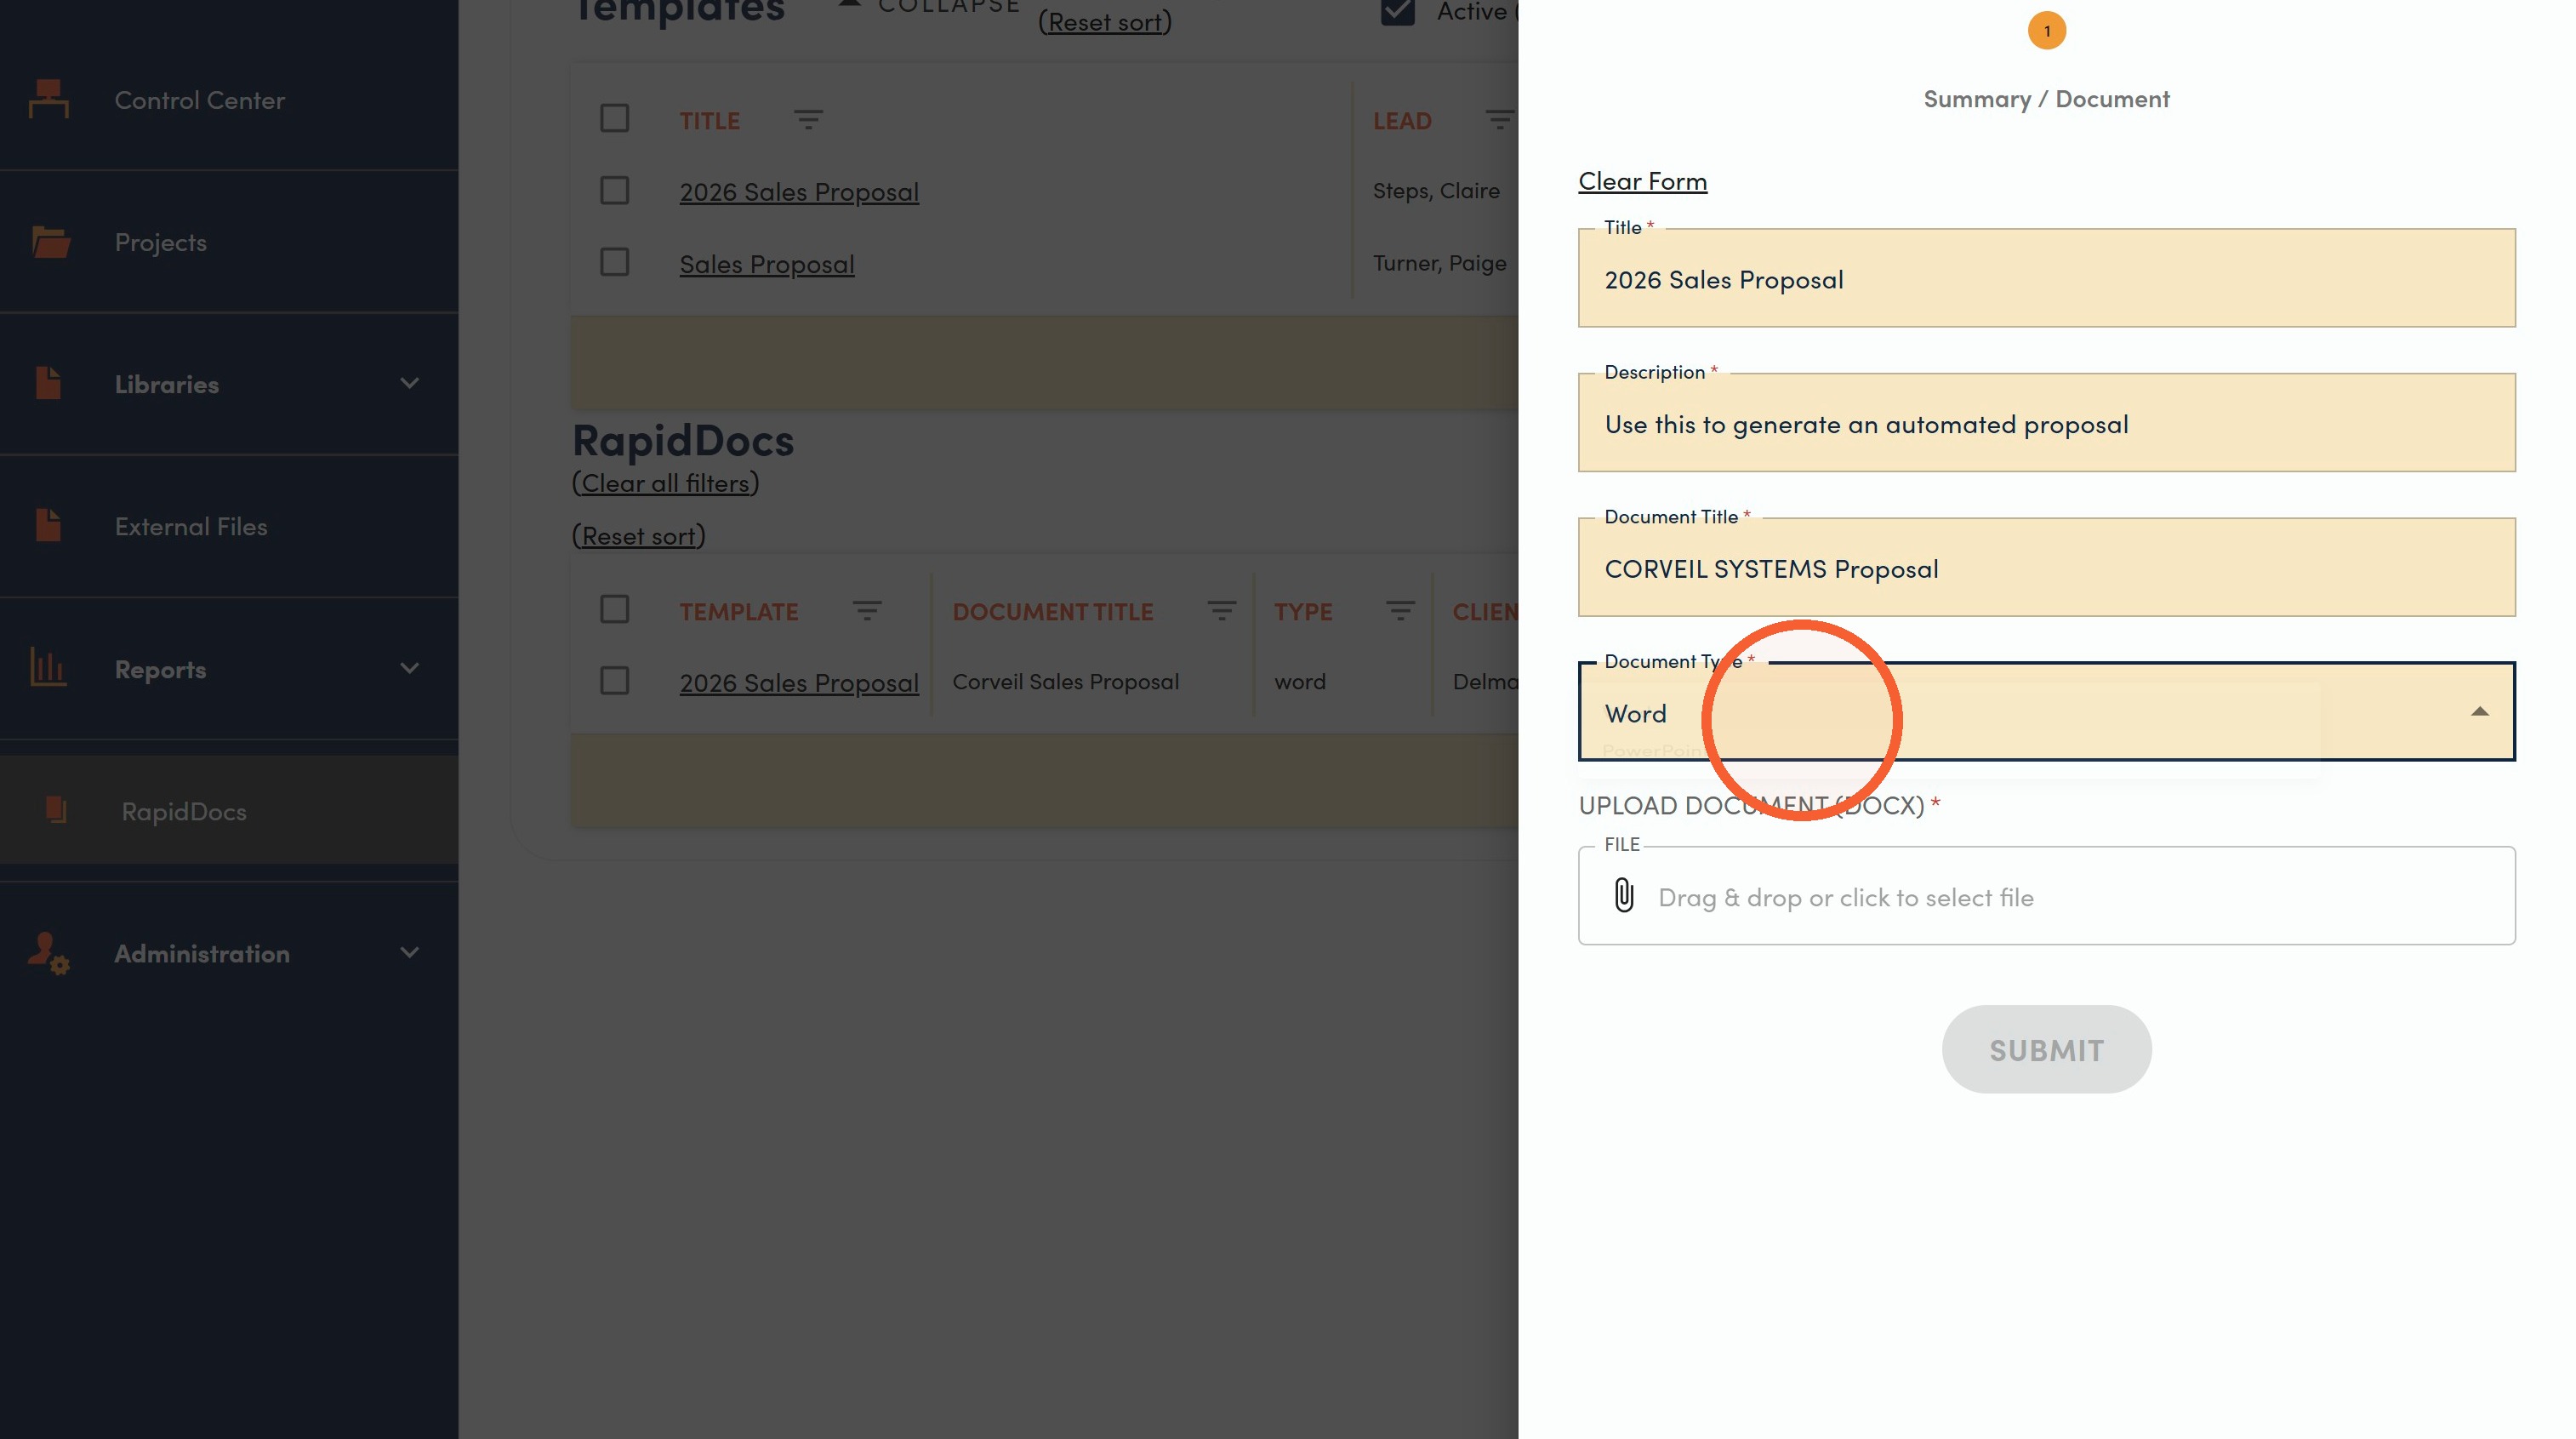
7. Drag & drop or click to upload your starting file (.docx or .pptx format). This will be the cover page for your document or PowerPoint file.
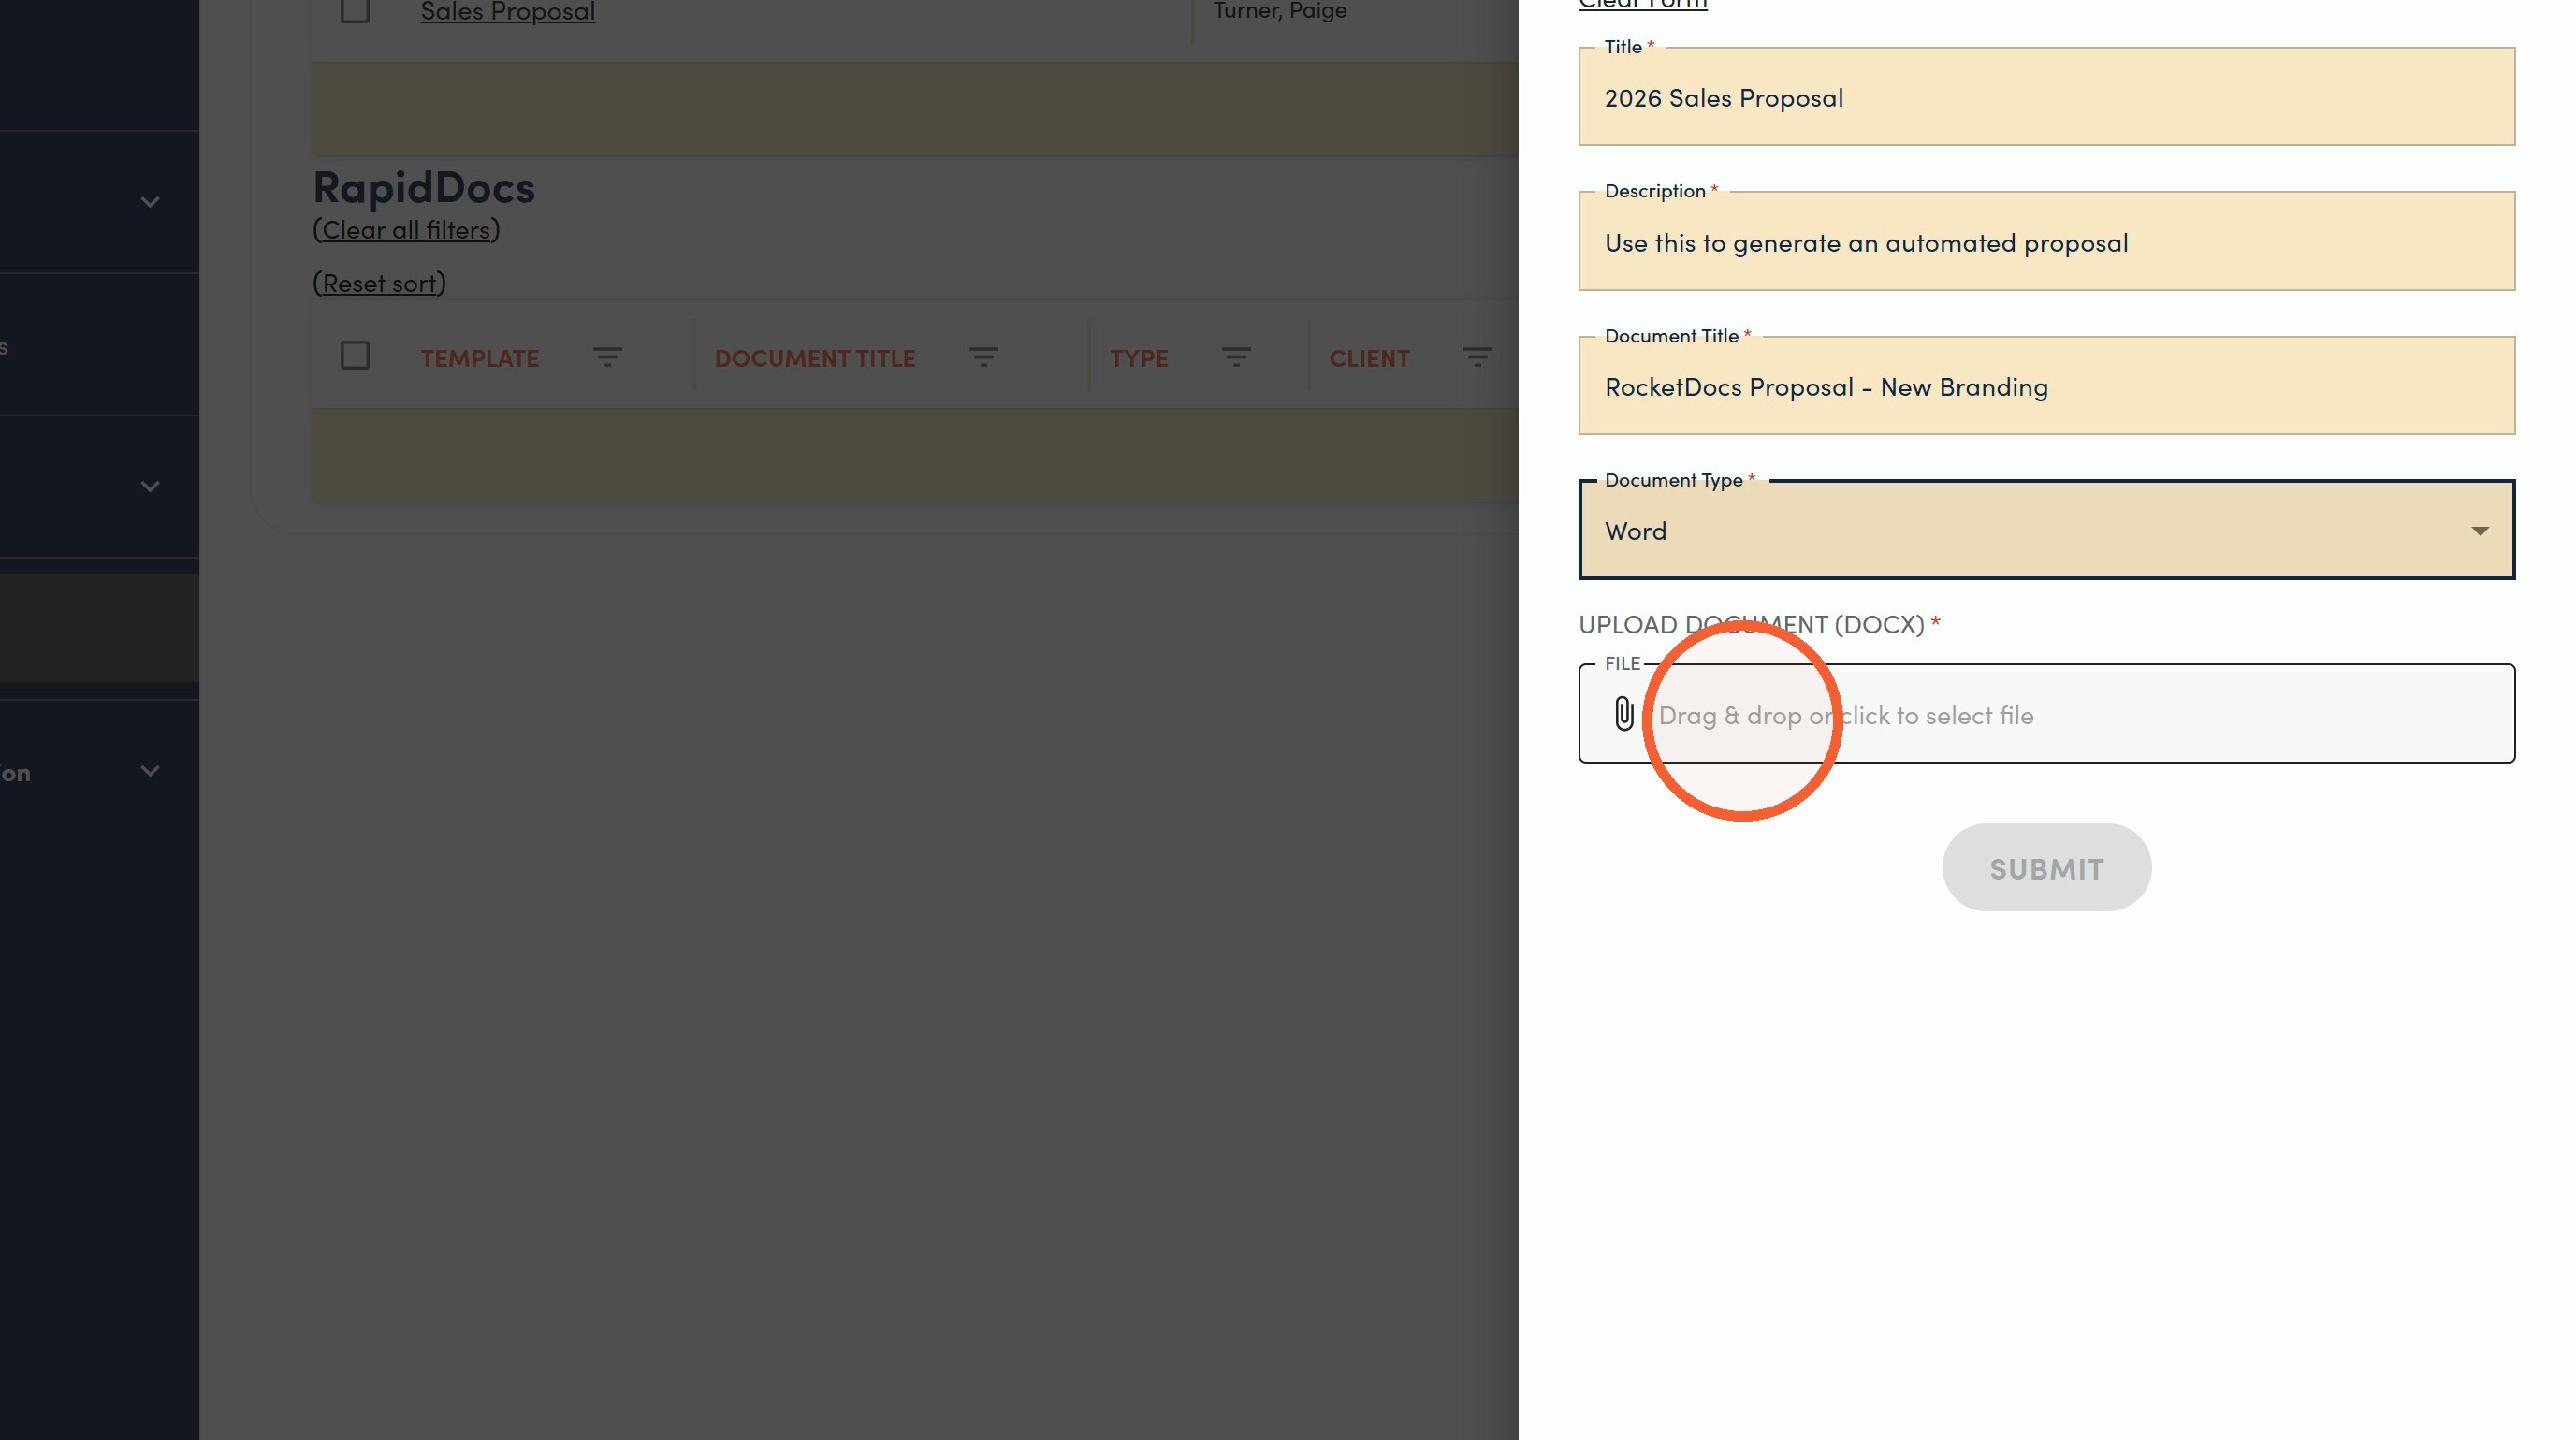
8. Click Submit.
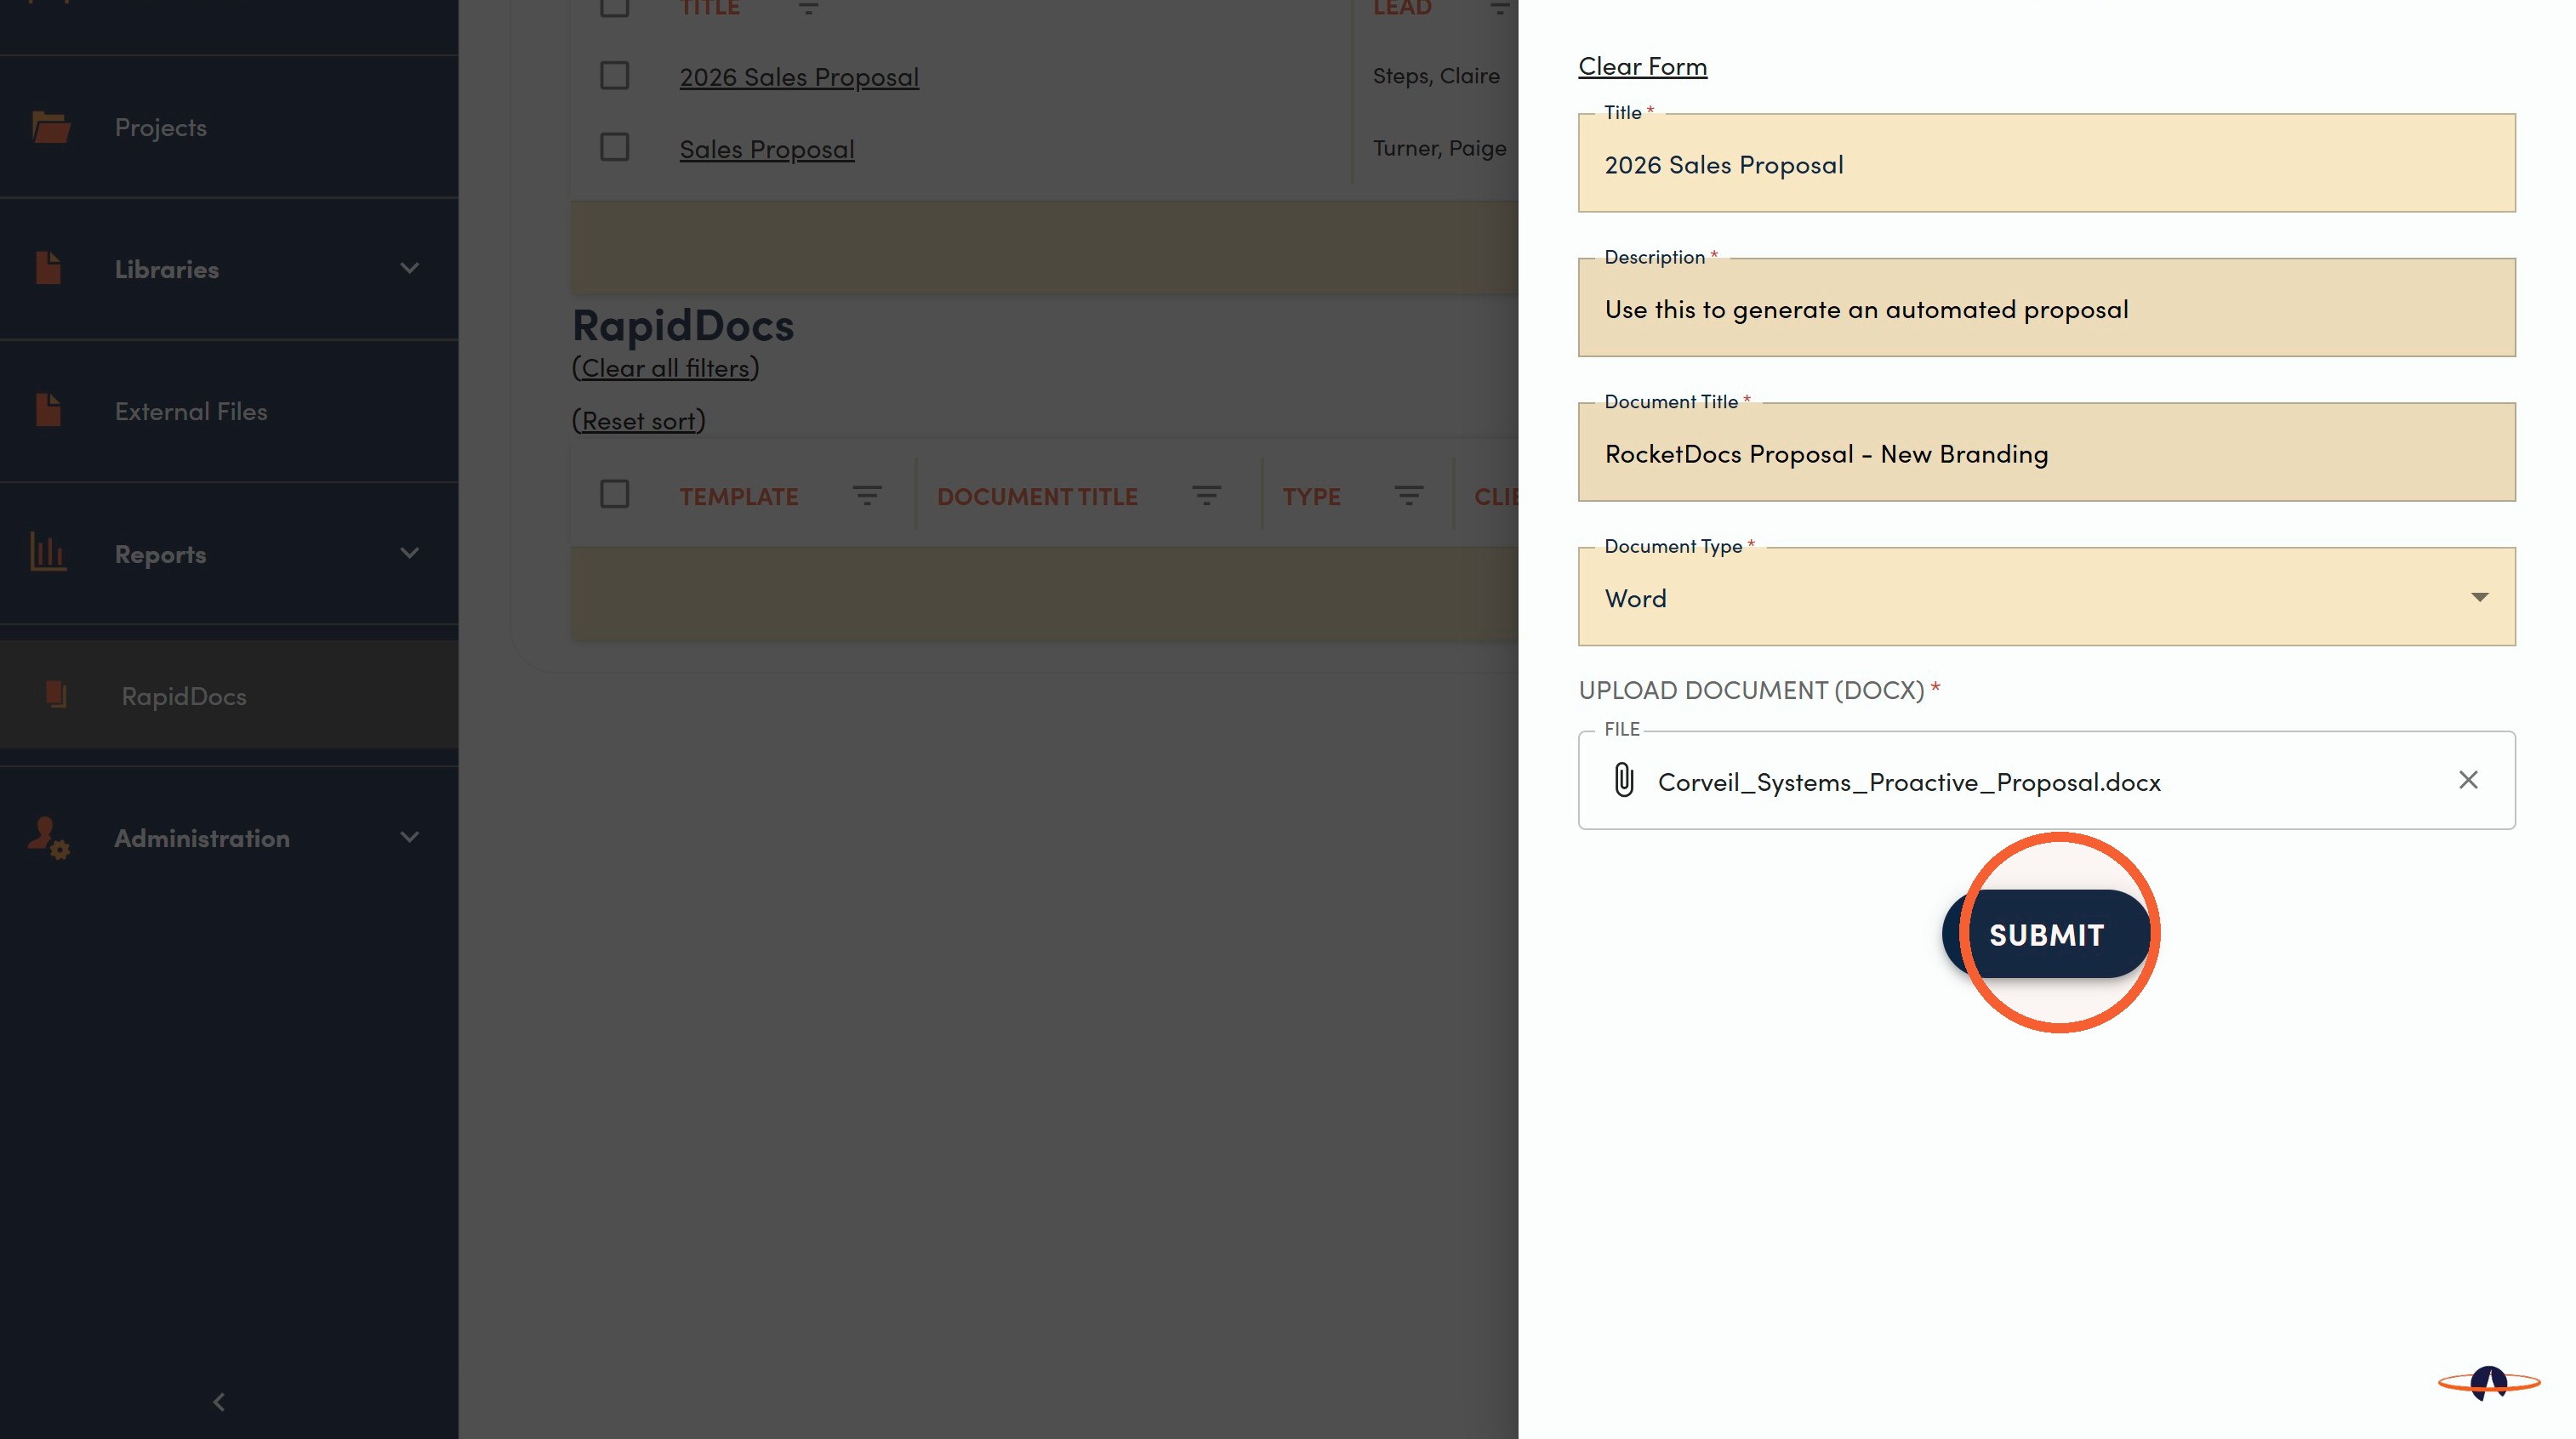
Document Configuration
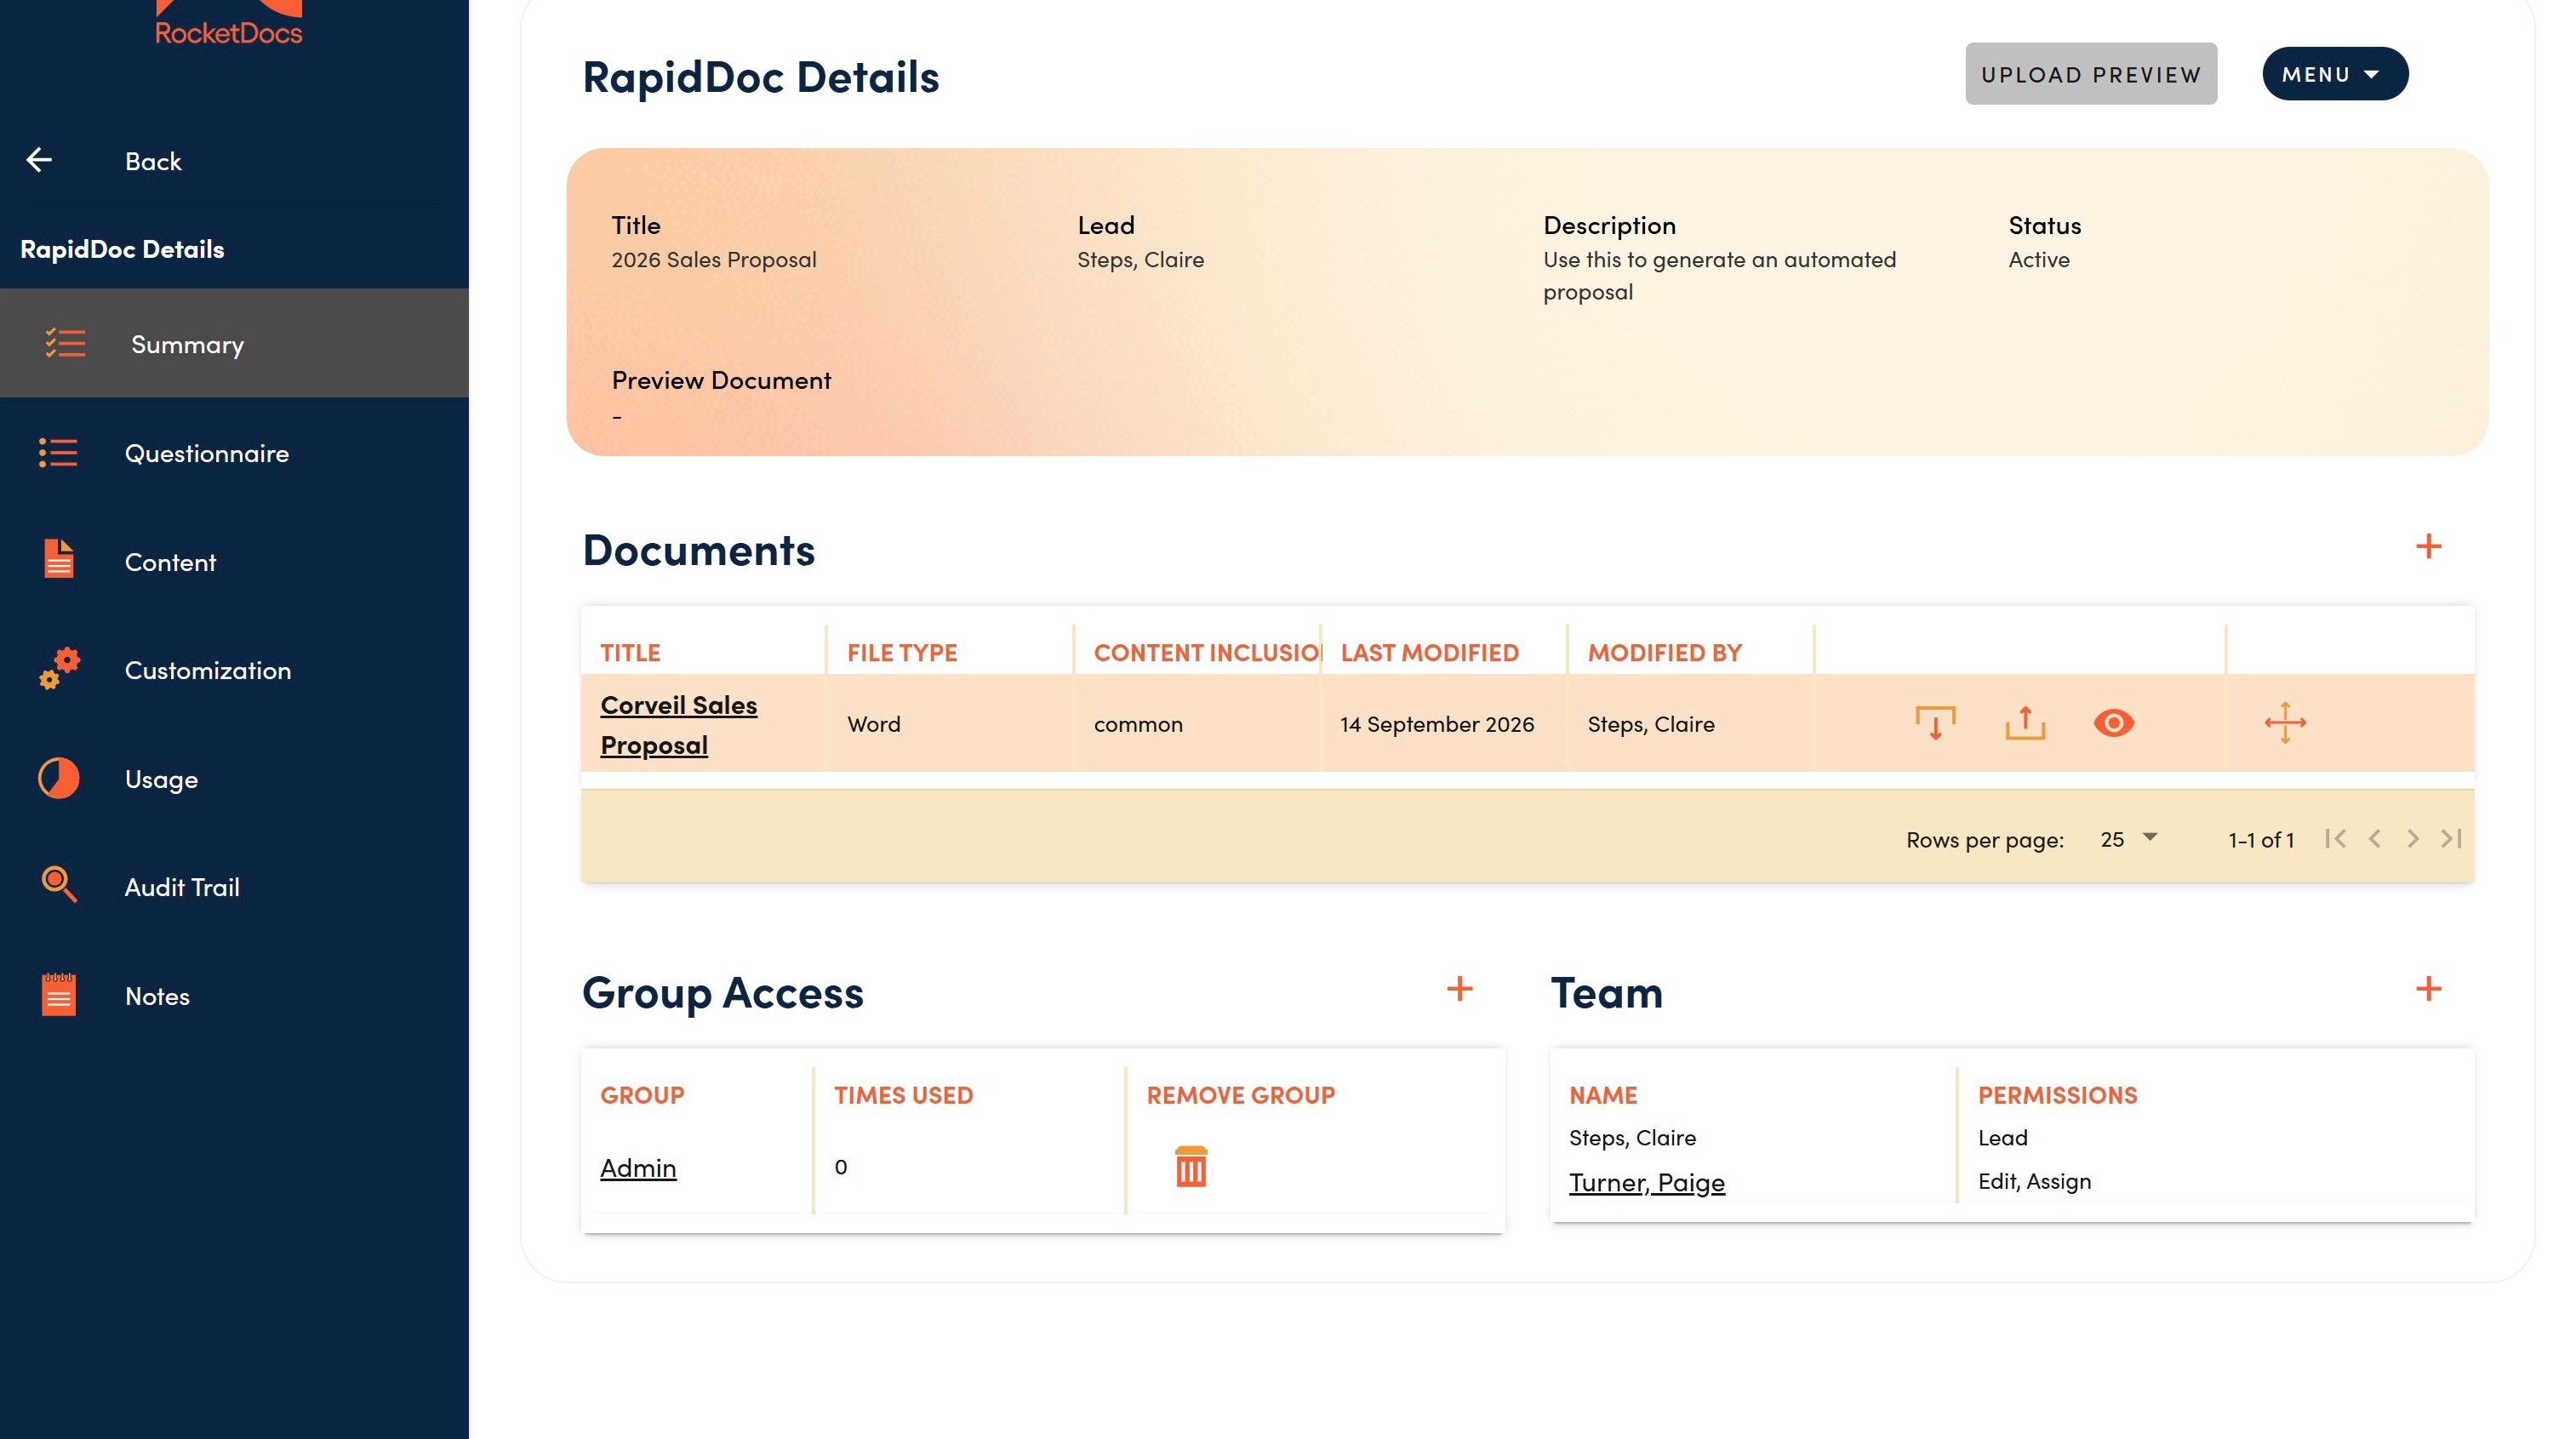
9. The document you uploaded for your cover page and formatting styles is listed in the Summary tab under Documents. This can be updated by the RapidDocs administrators listed in the Team section at any time.
Note: more than one cover option can be added here in the Documents section. For example, if you have two or three different cover pages your team likes to use, you can upload multiple options here.
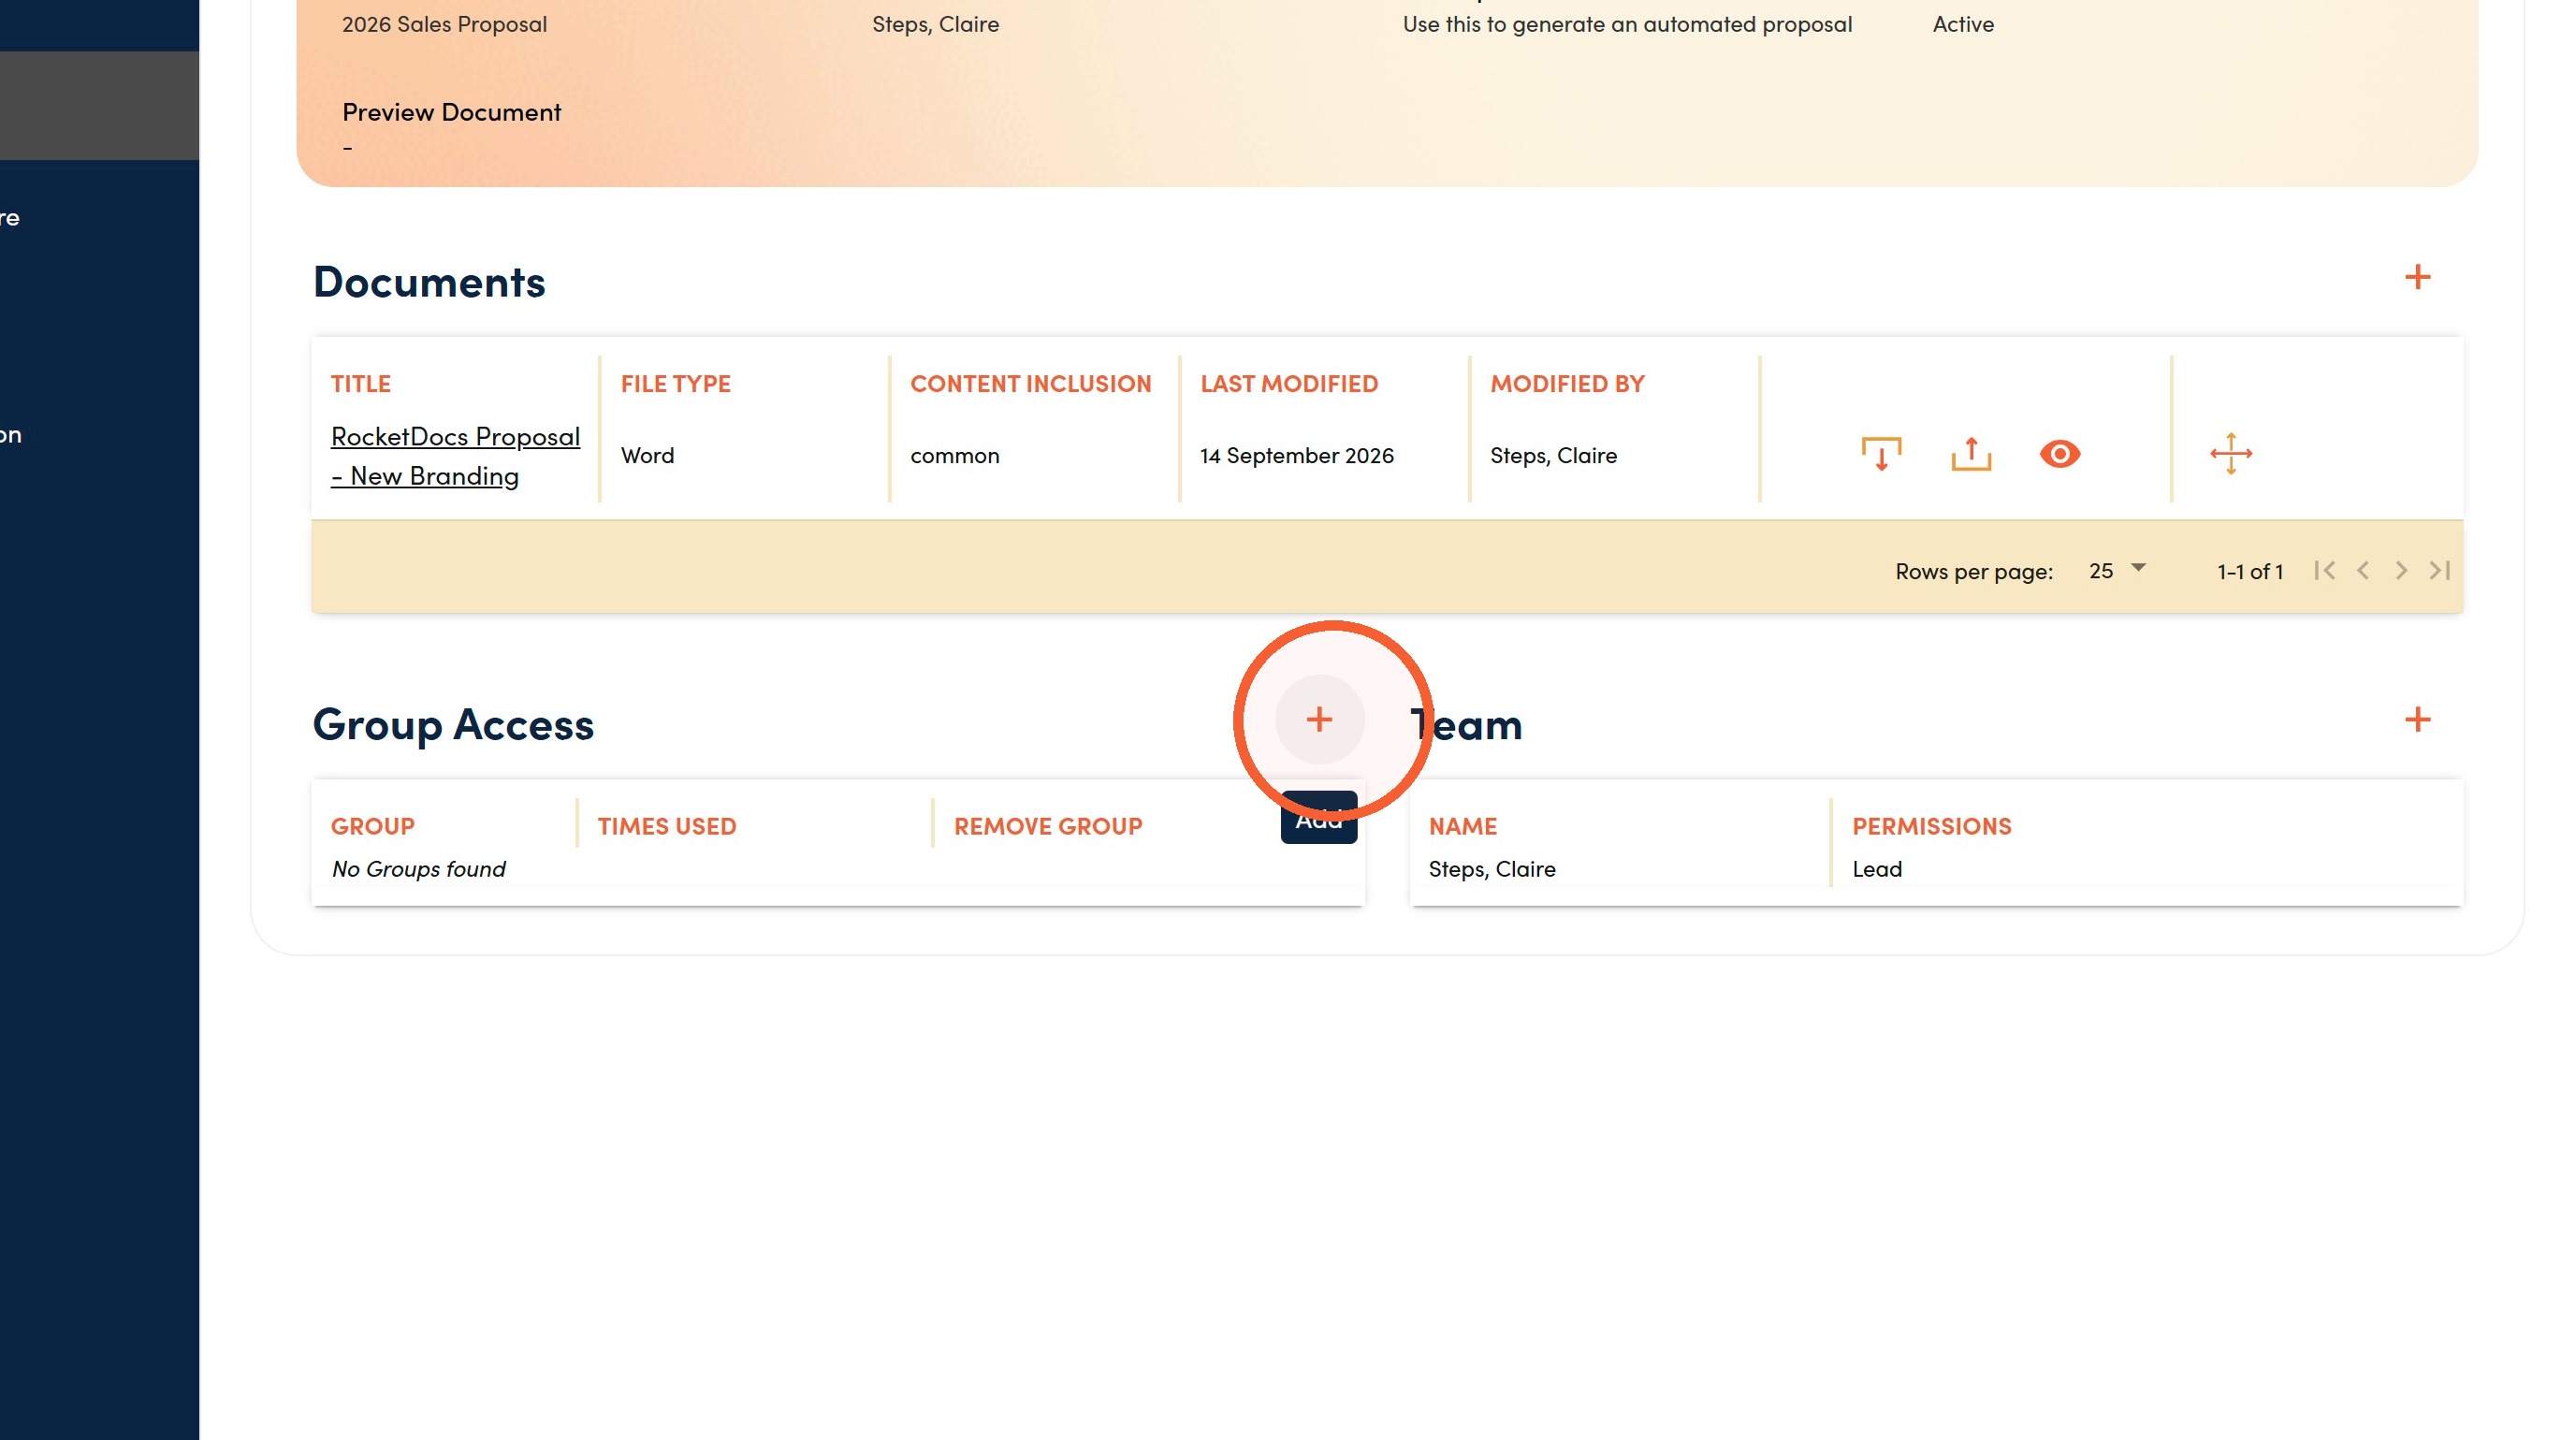
Group Access
10. Click Group Access Add to manage which user groups have access to generate this specific RapidDoc.
11. Click Group.
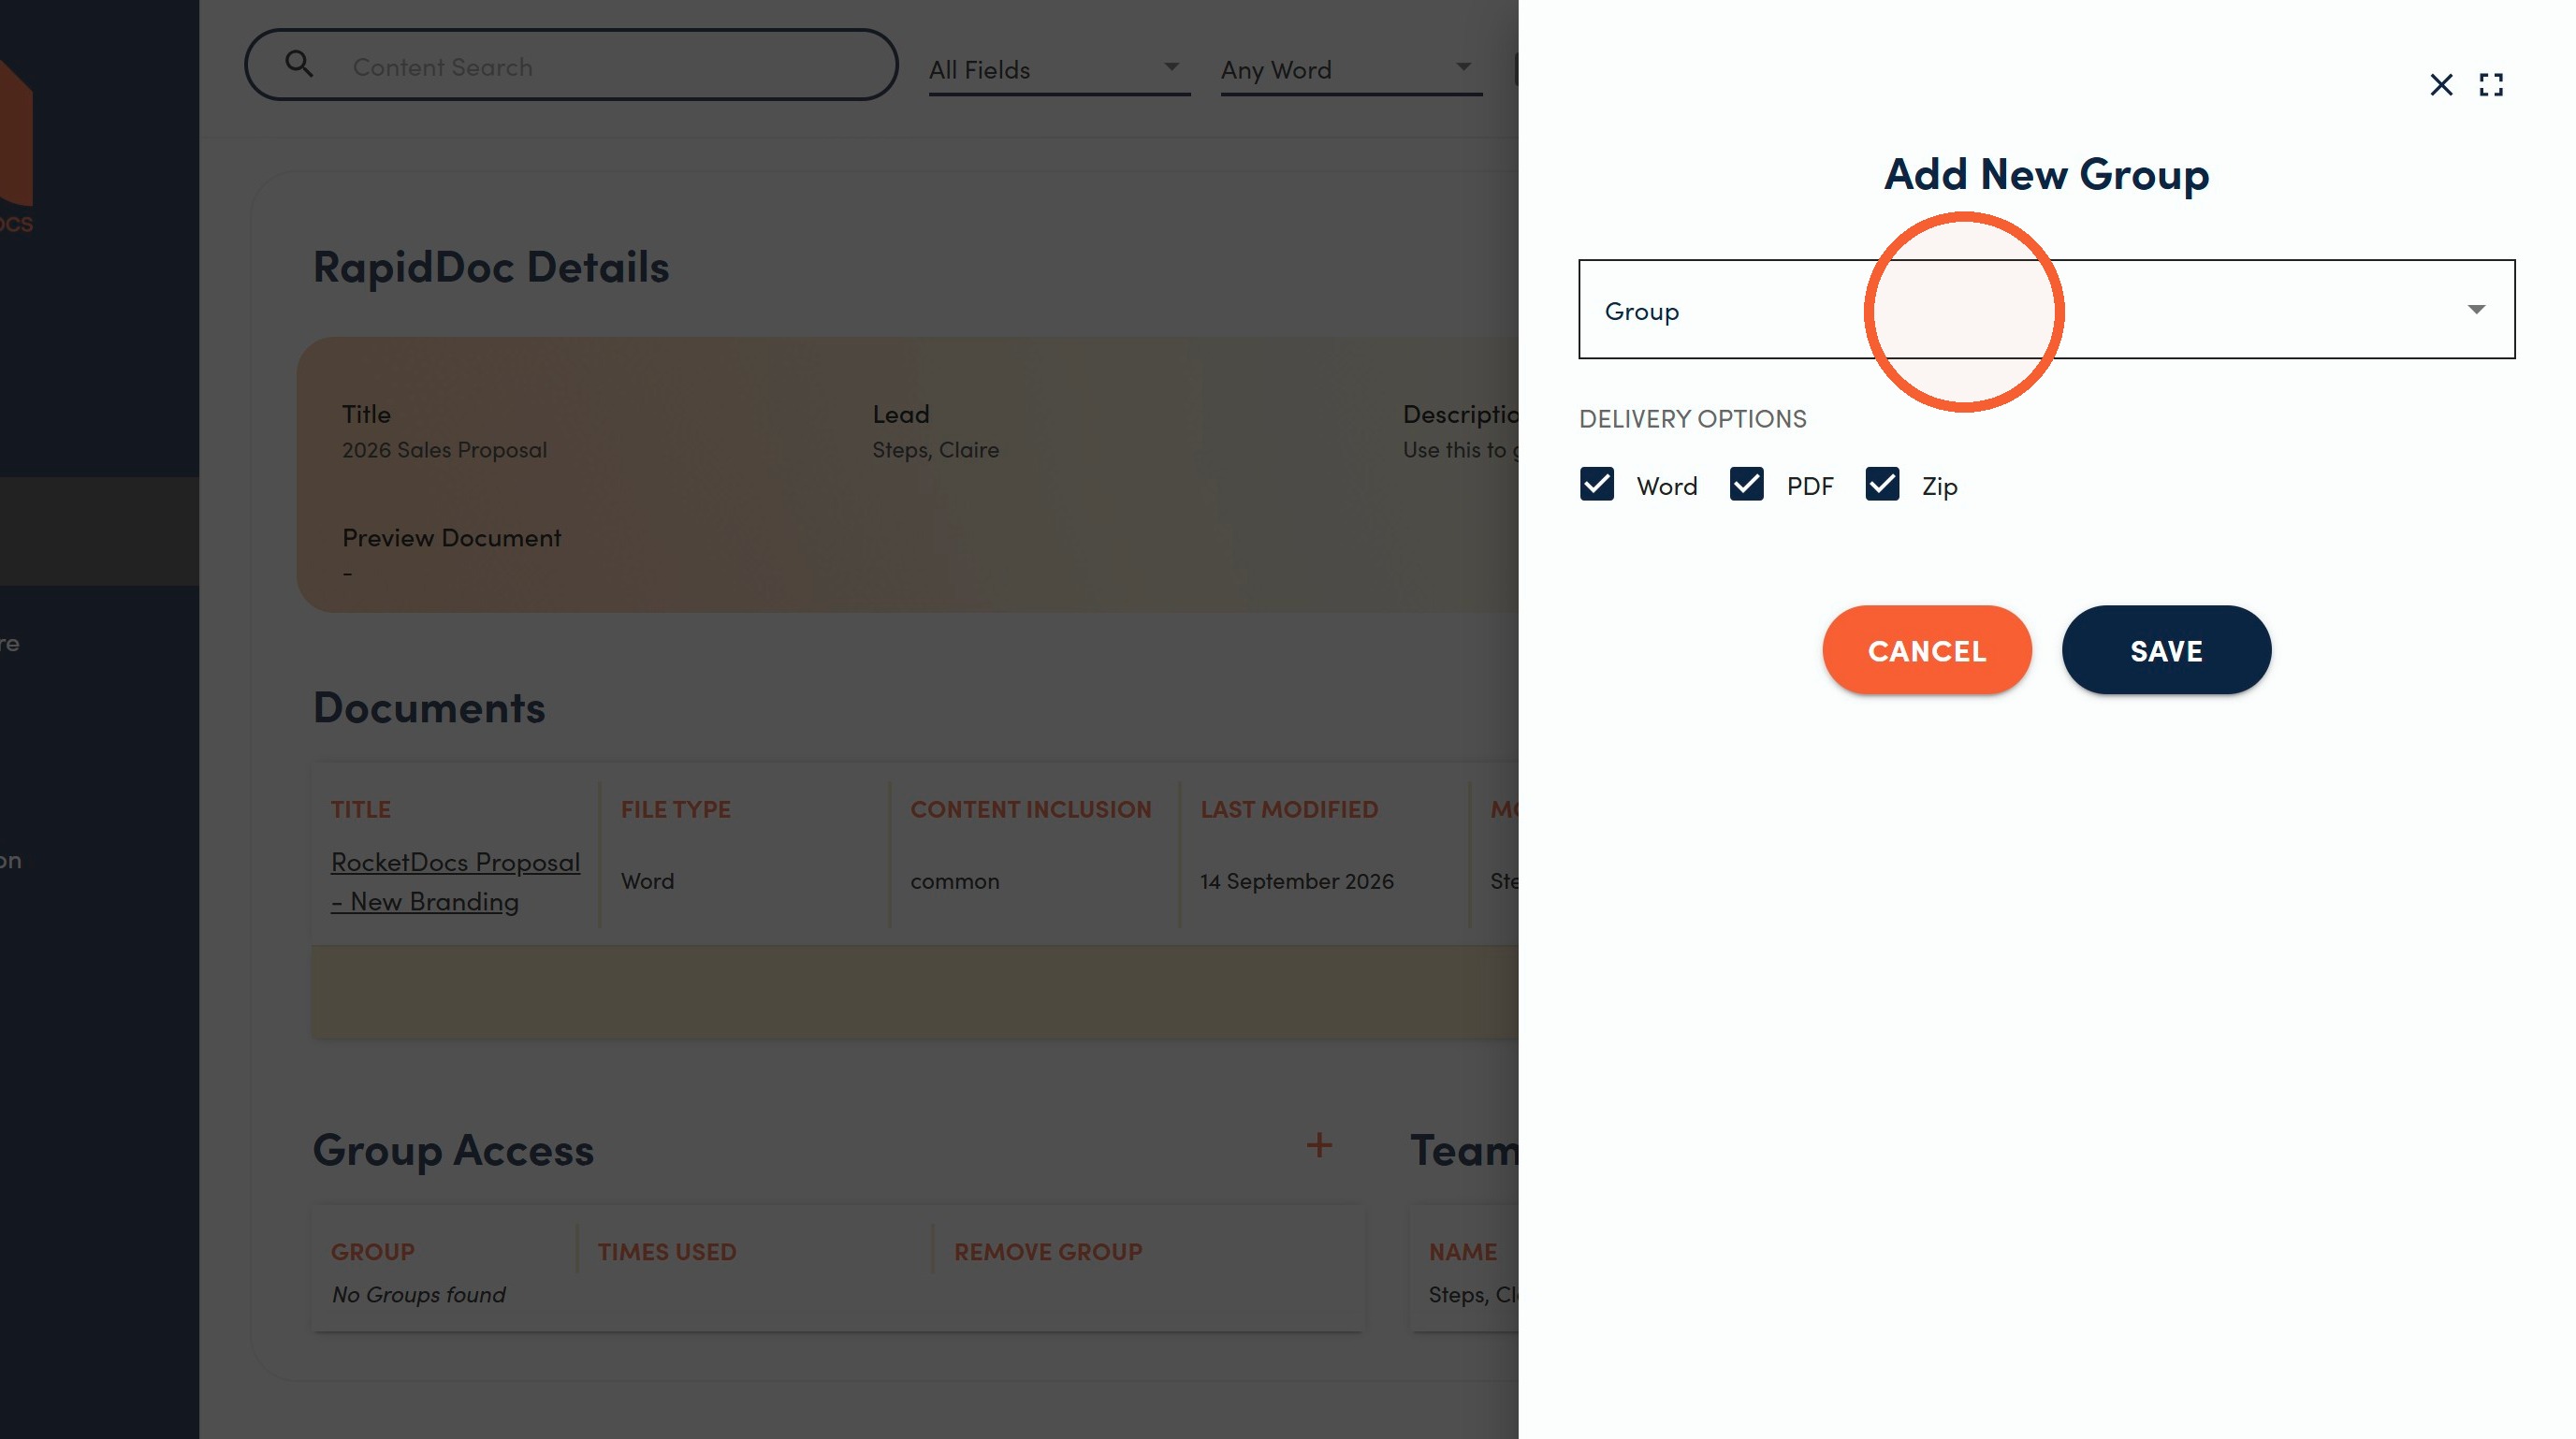
12. Select the user group who should be able to generate RapidDocs from this template. If there are multiple, each group must be added separately.
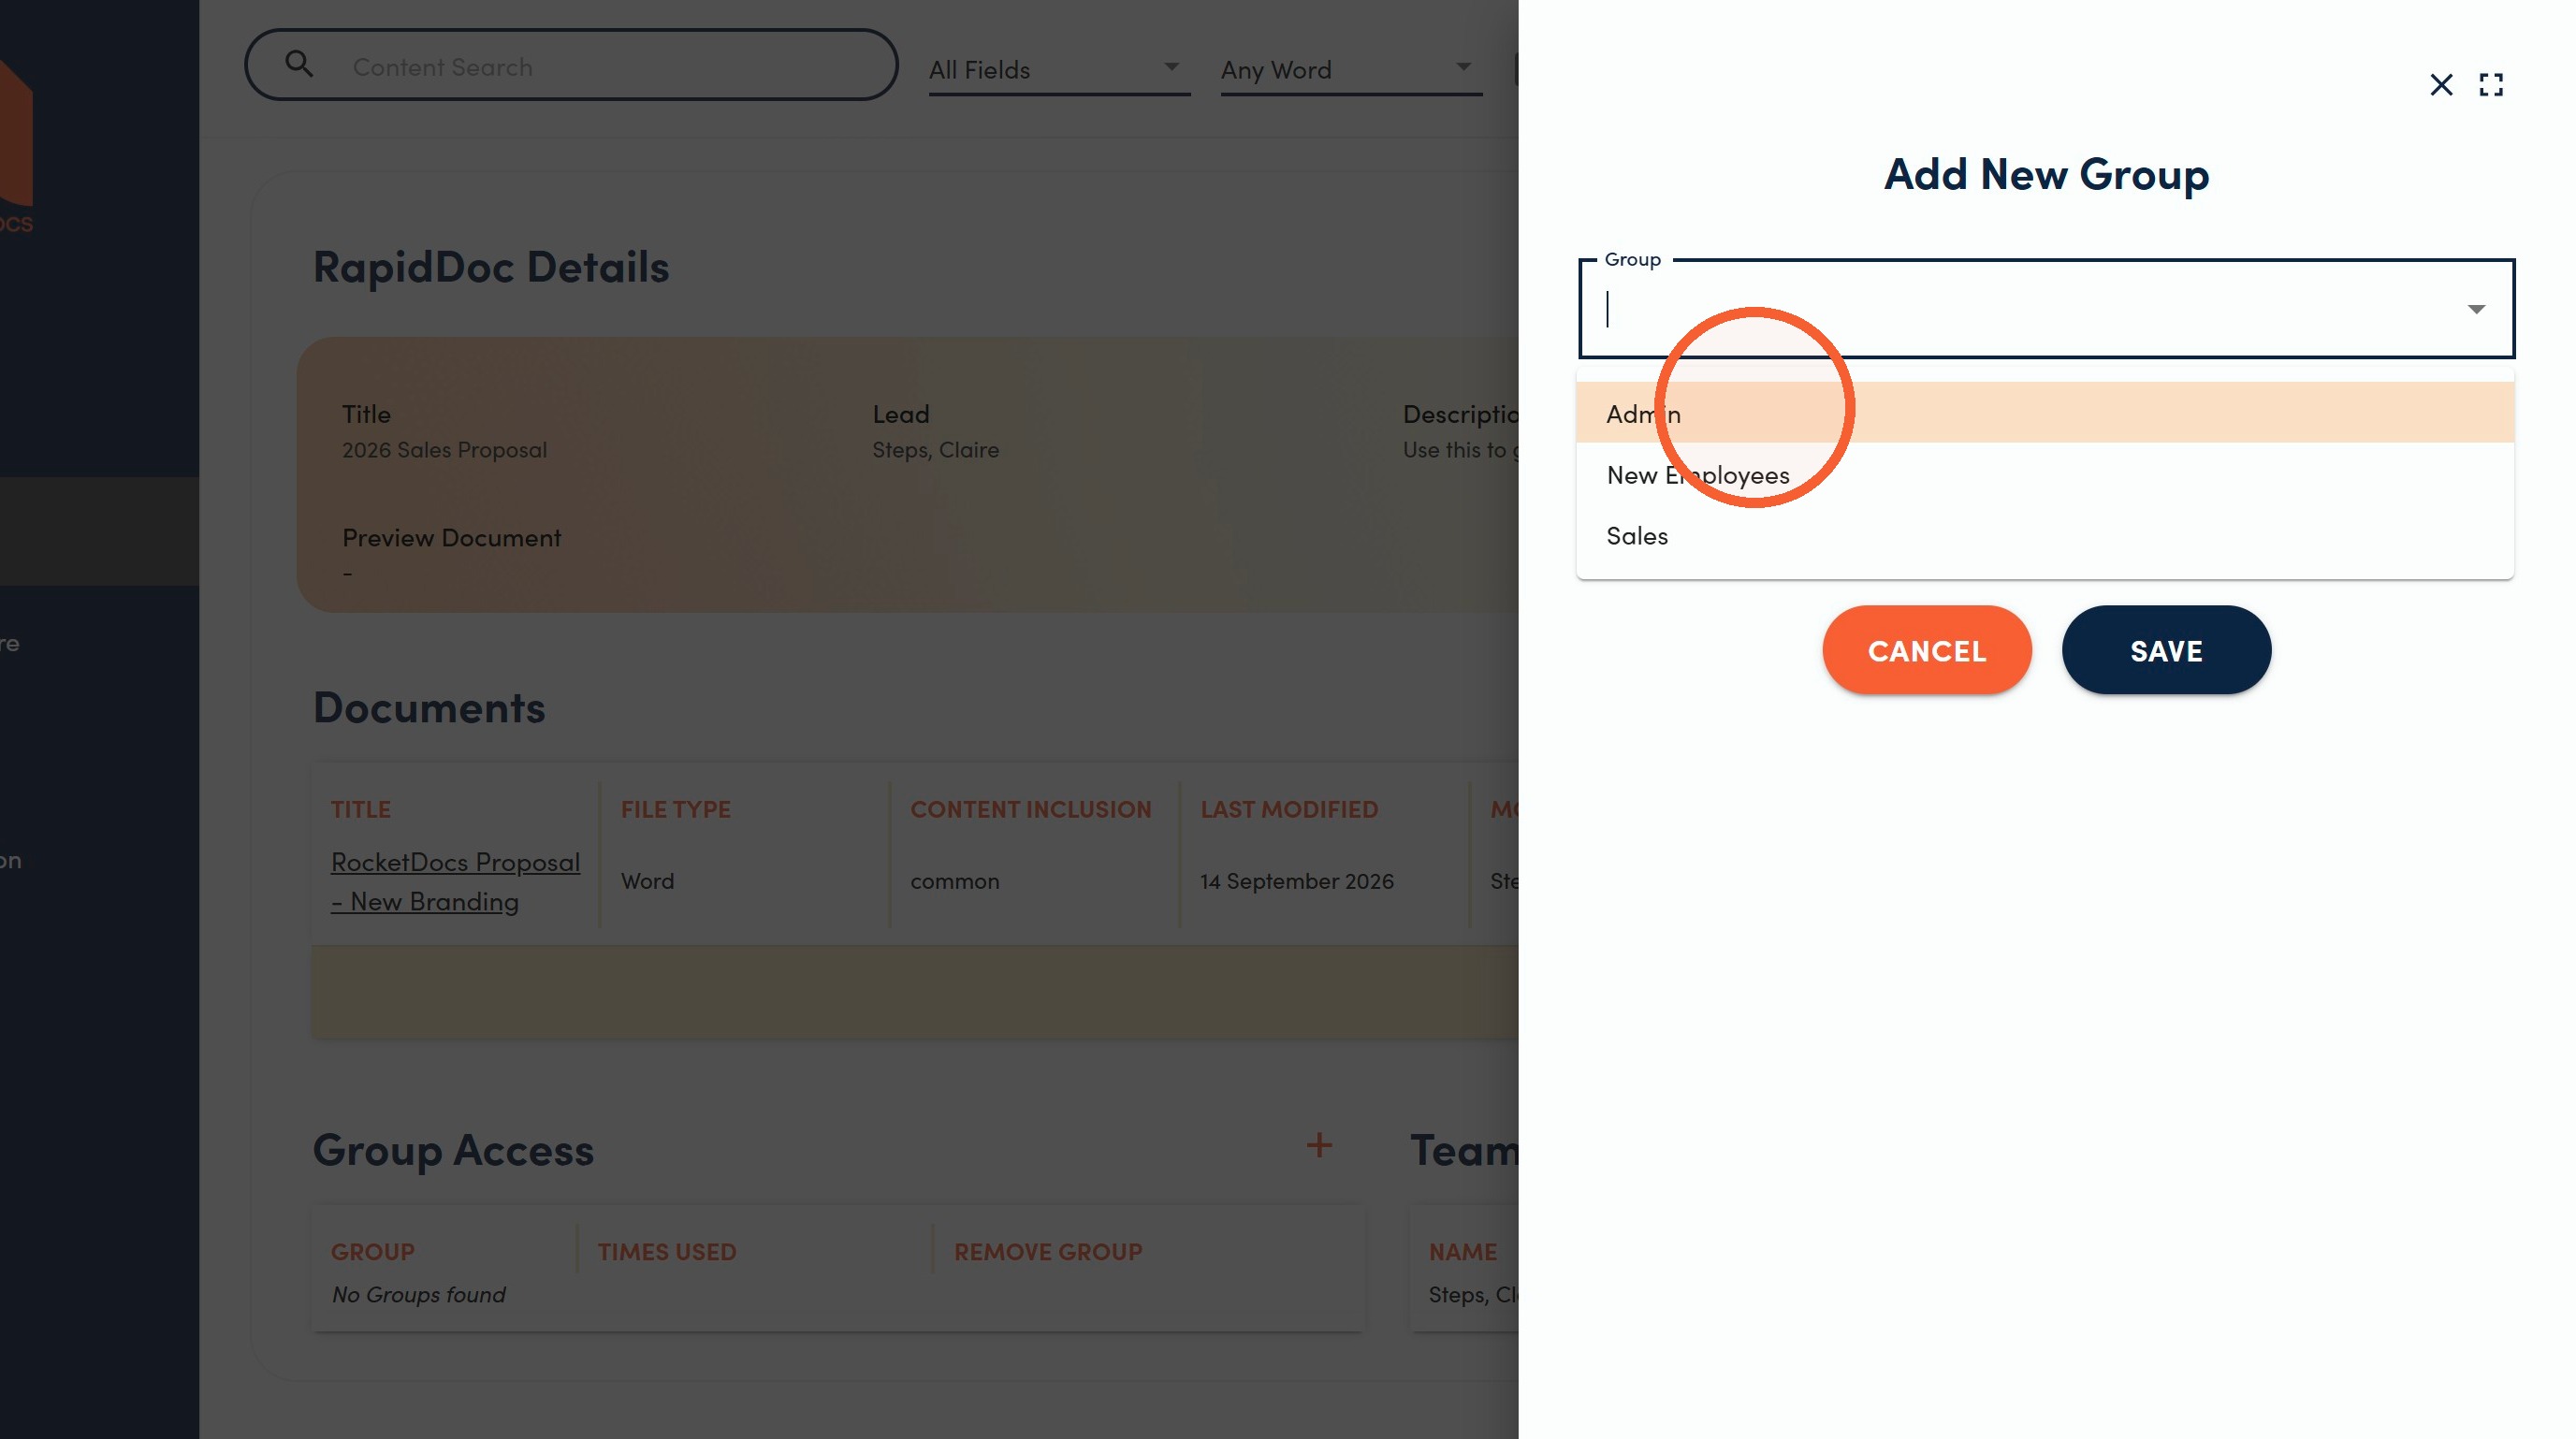
13. Select the Delivery Options for the selected group. Select Word or Zip for easier manual updates, or limit to PDF for files that should not be changed by the end user.
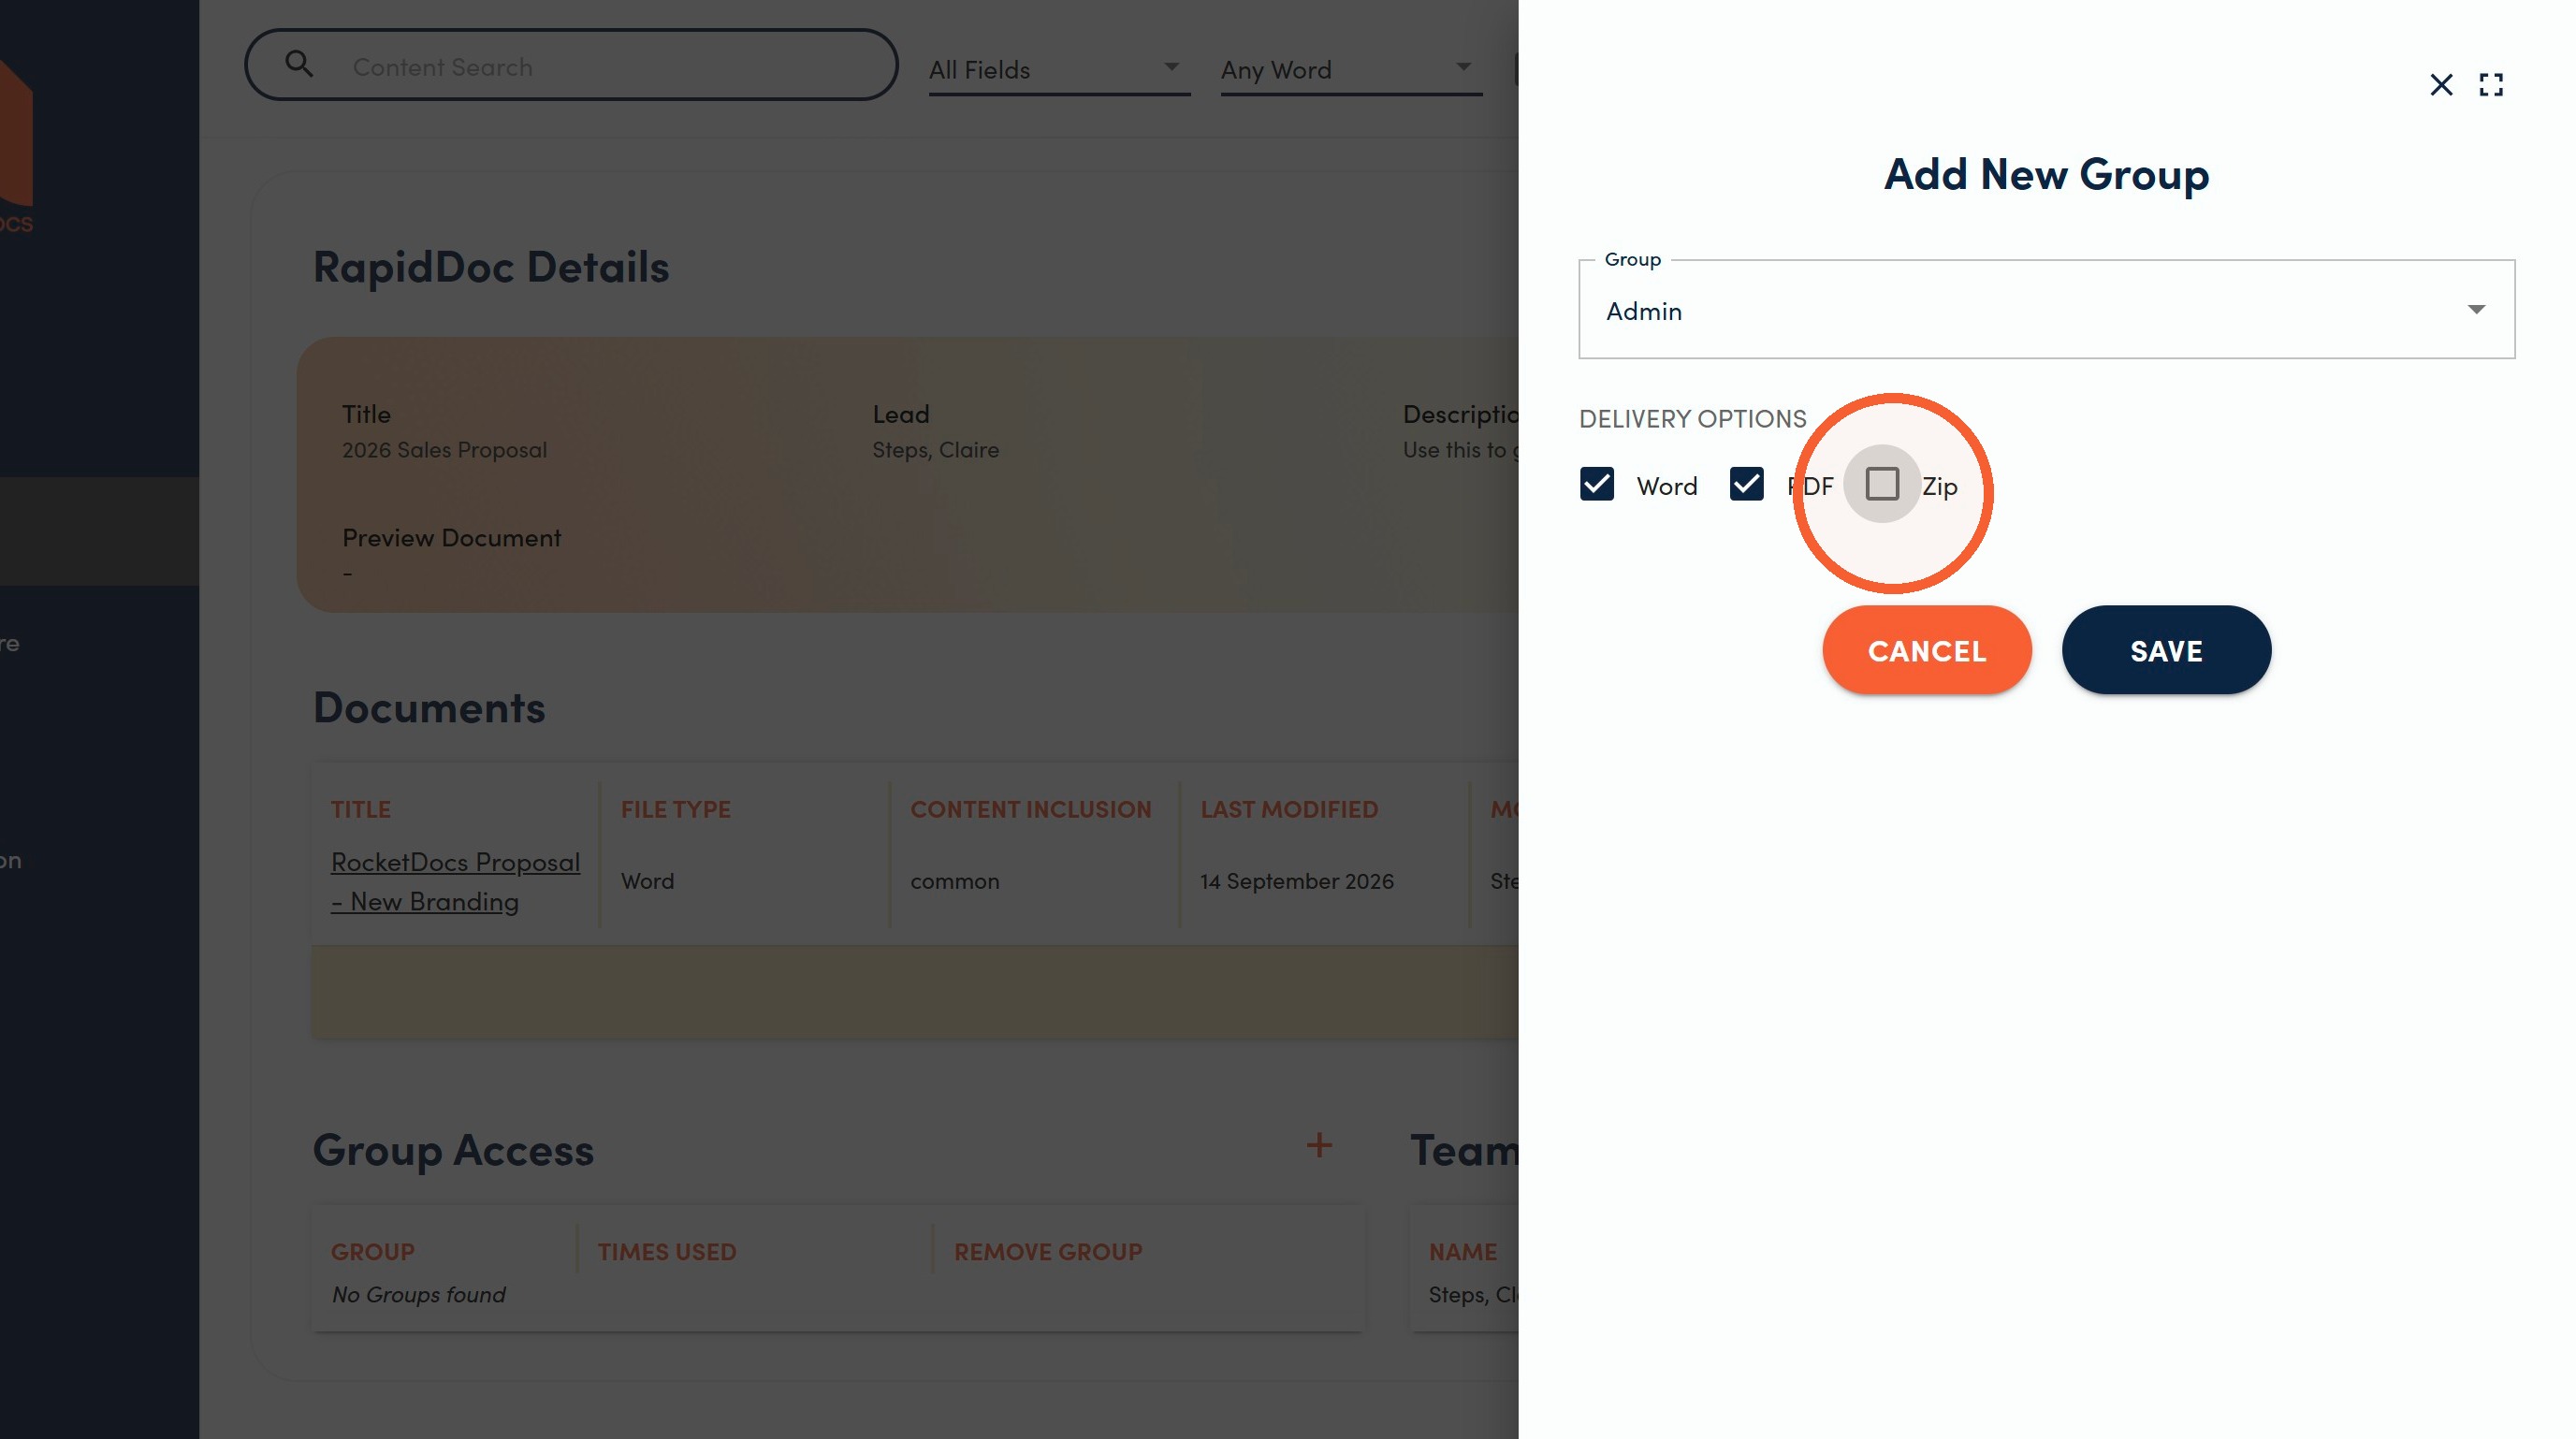
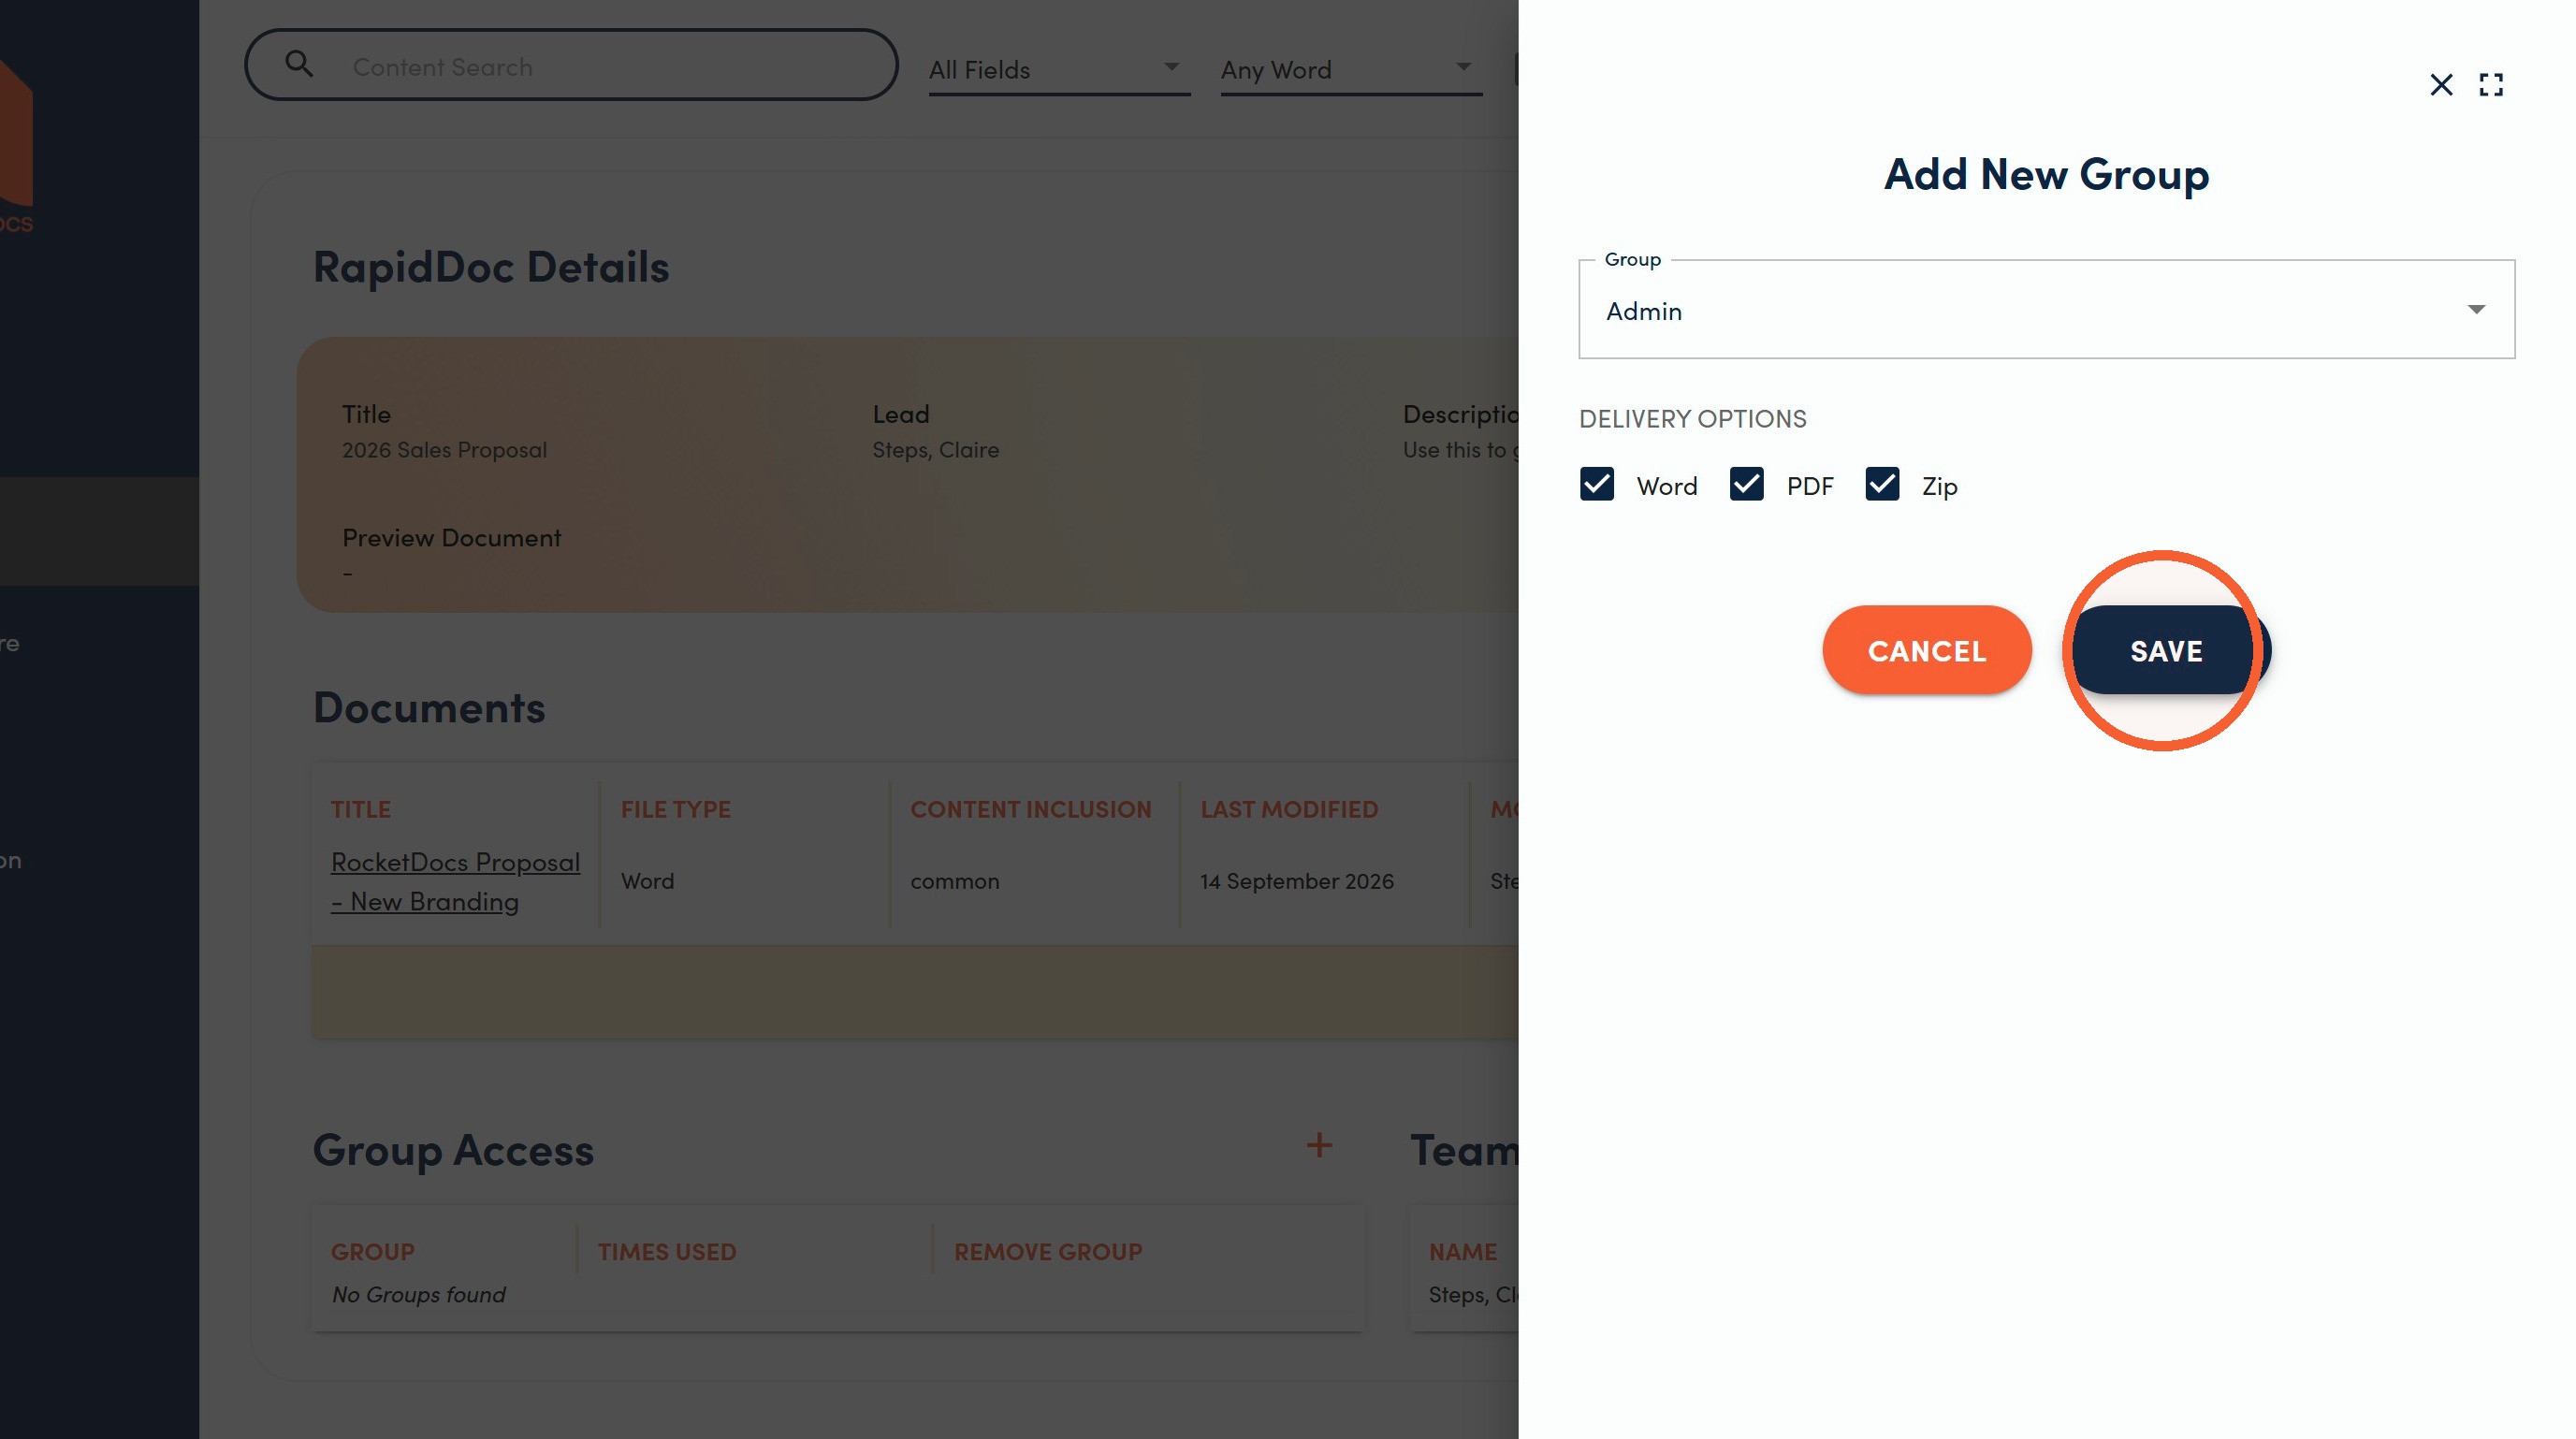
14. Click Save.
Team Management
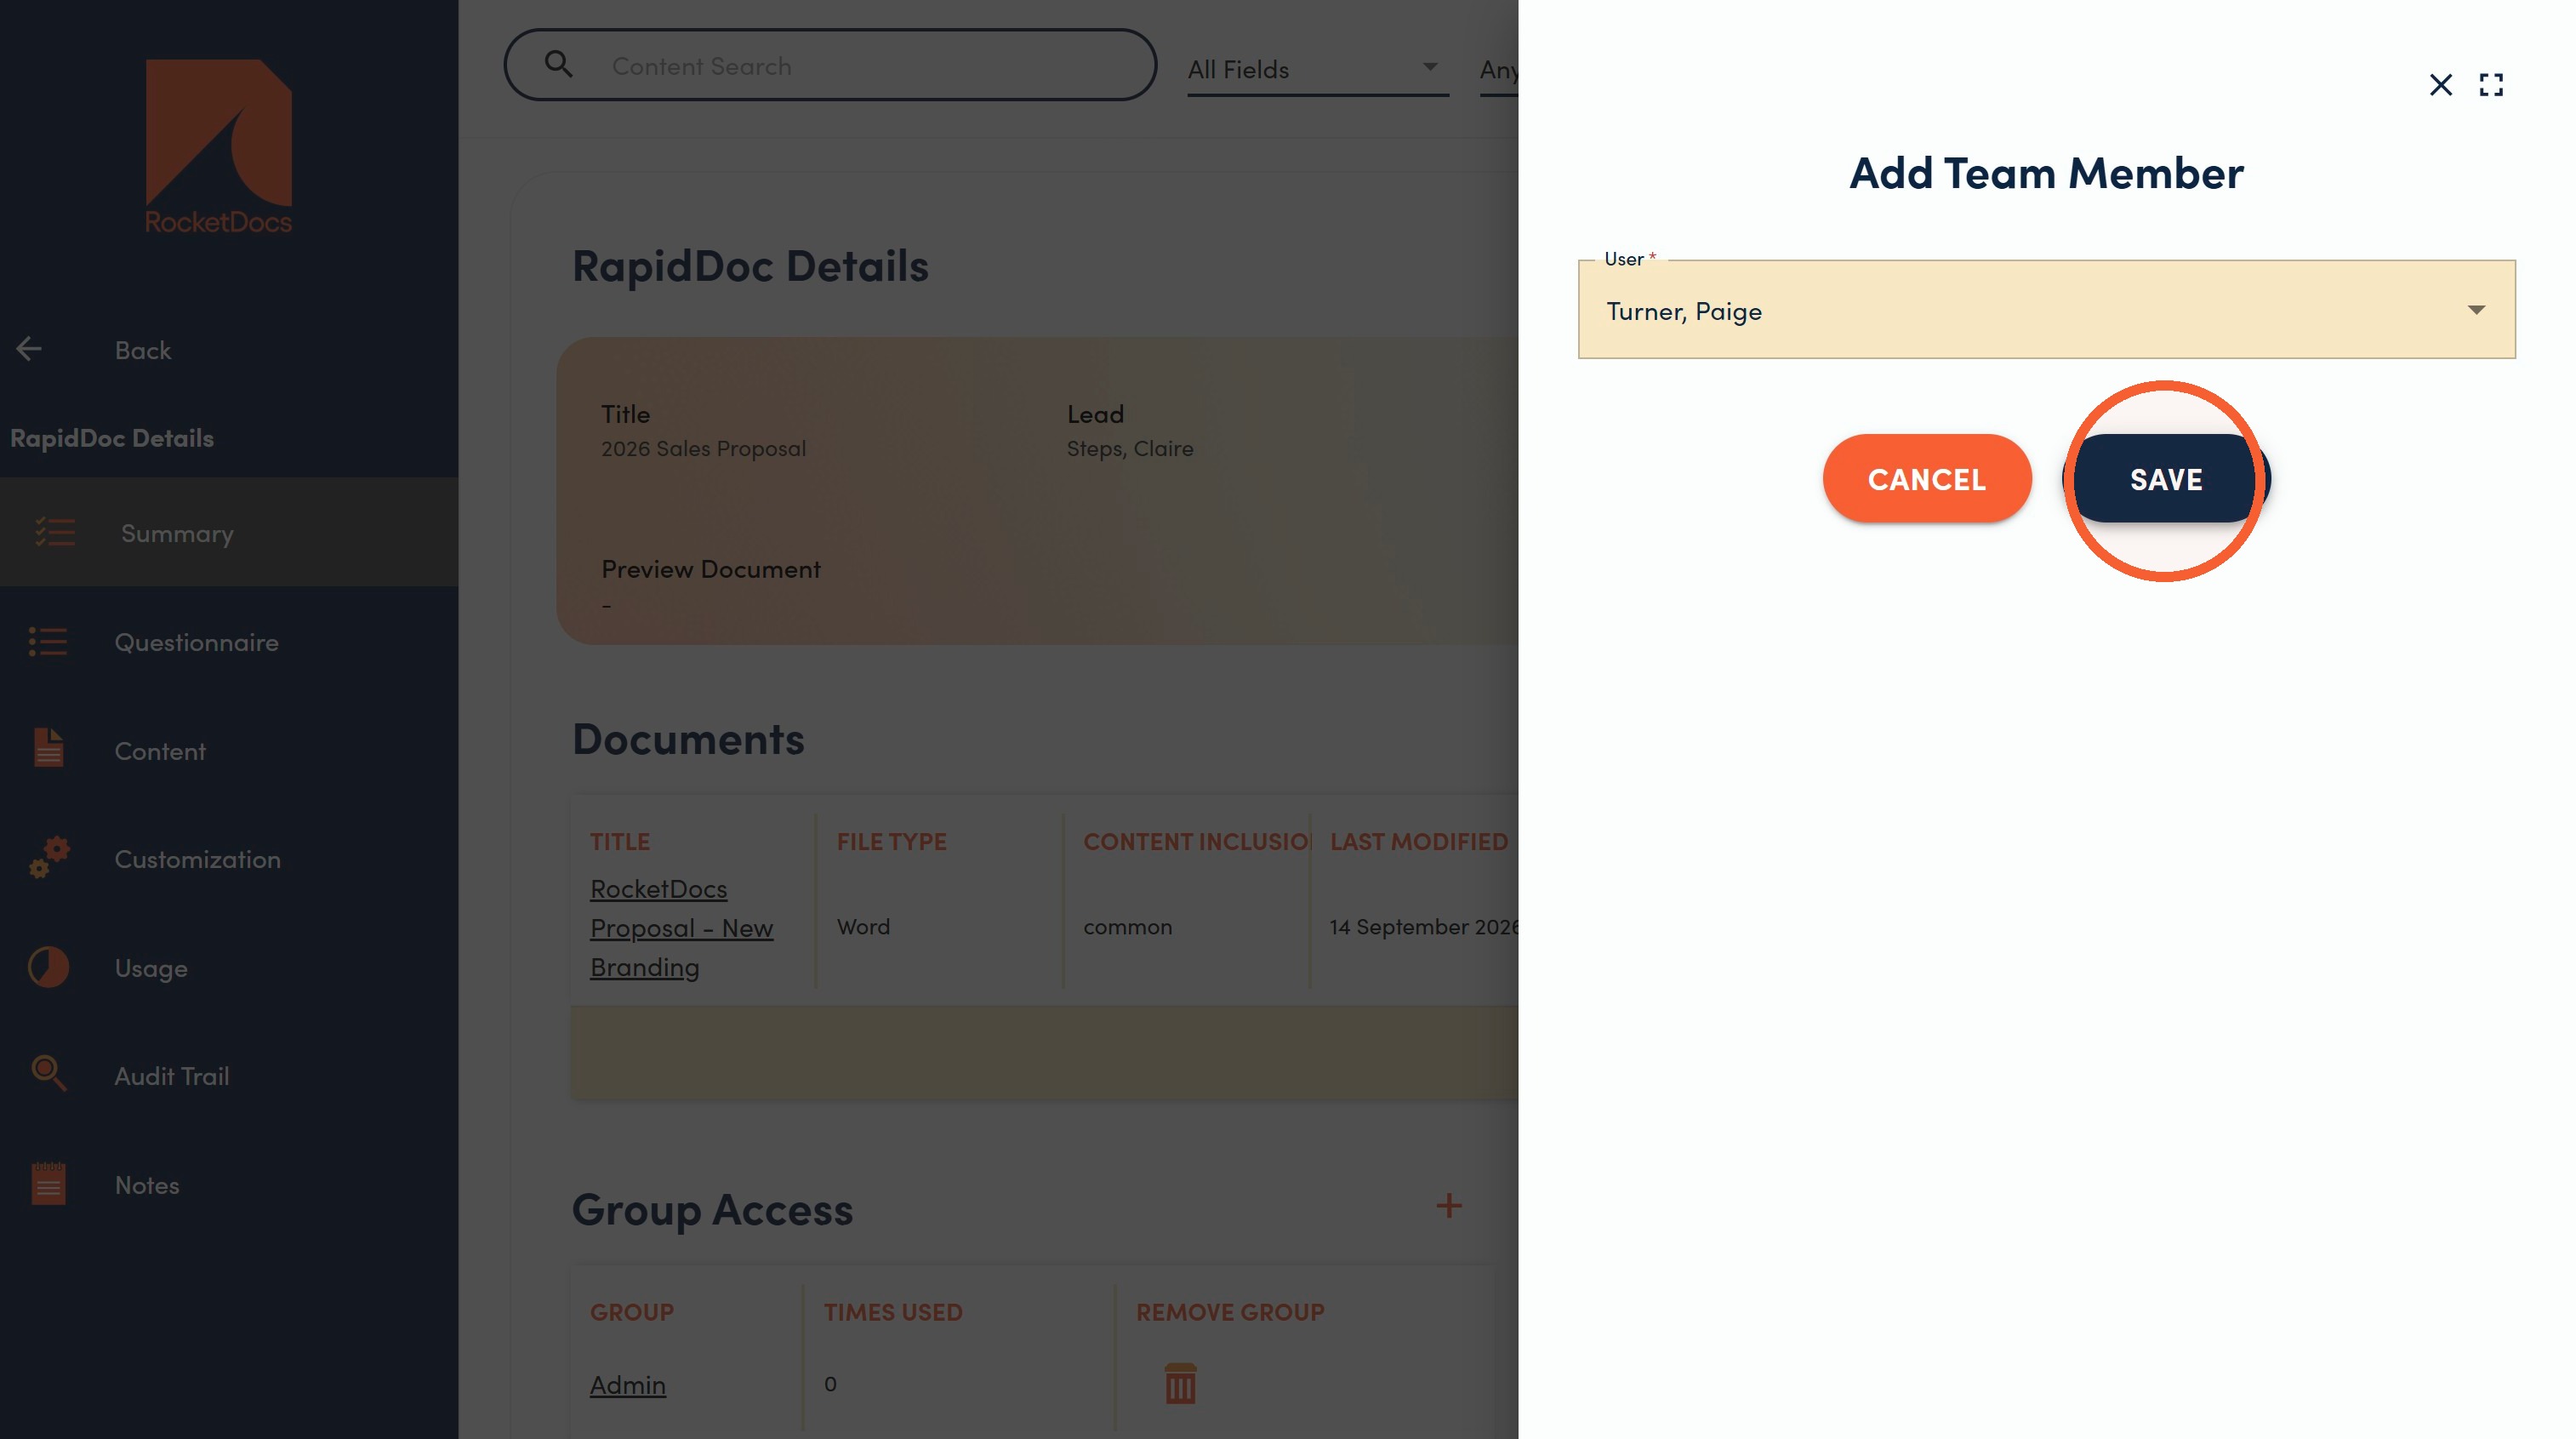
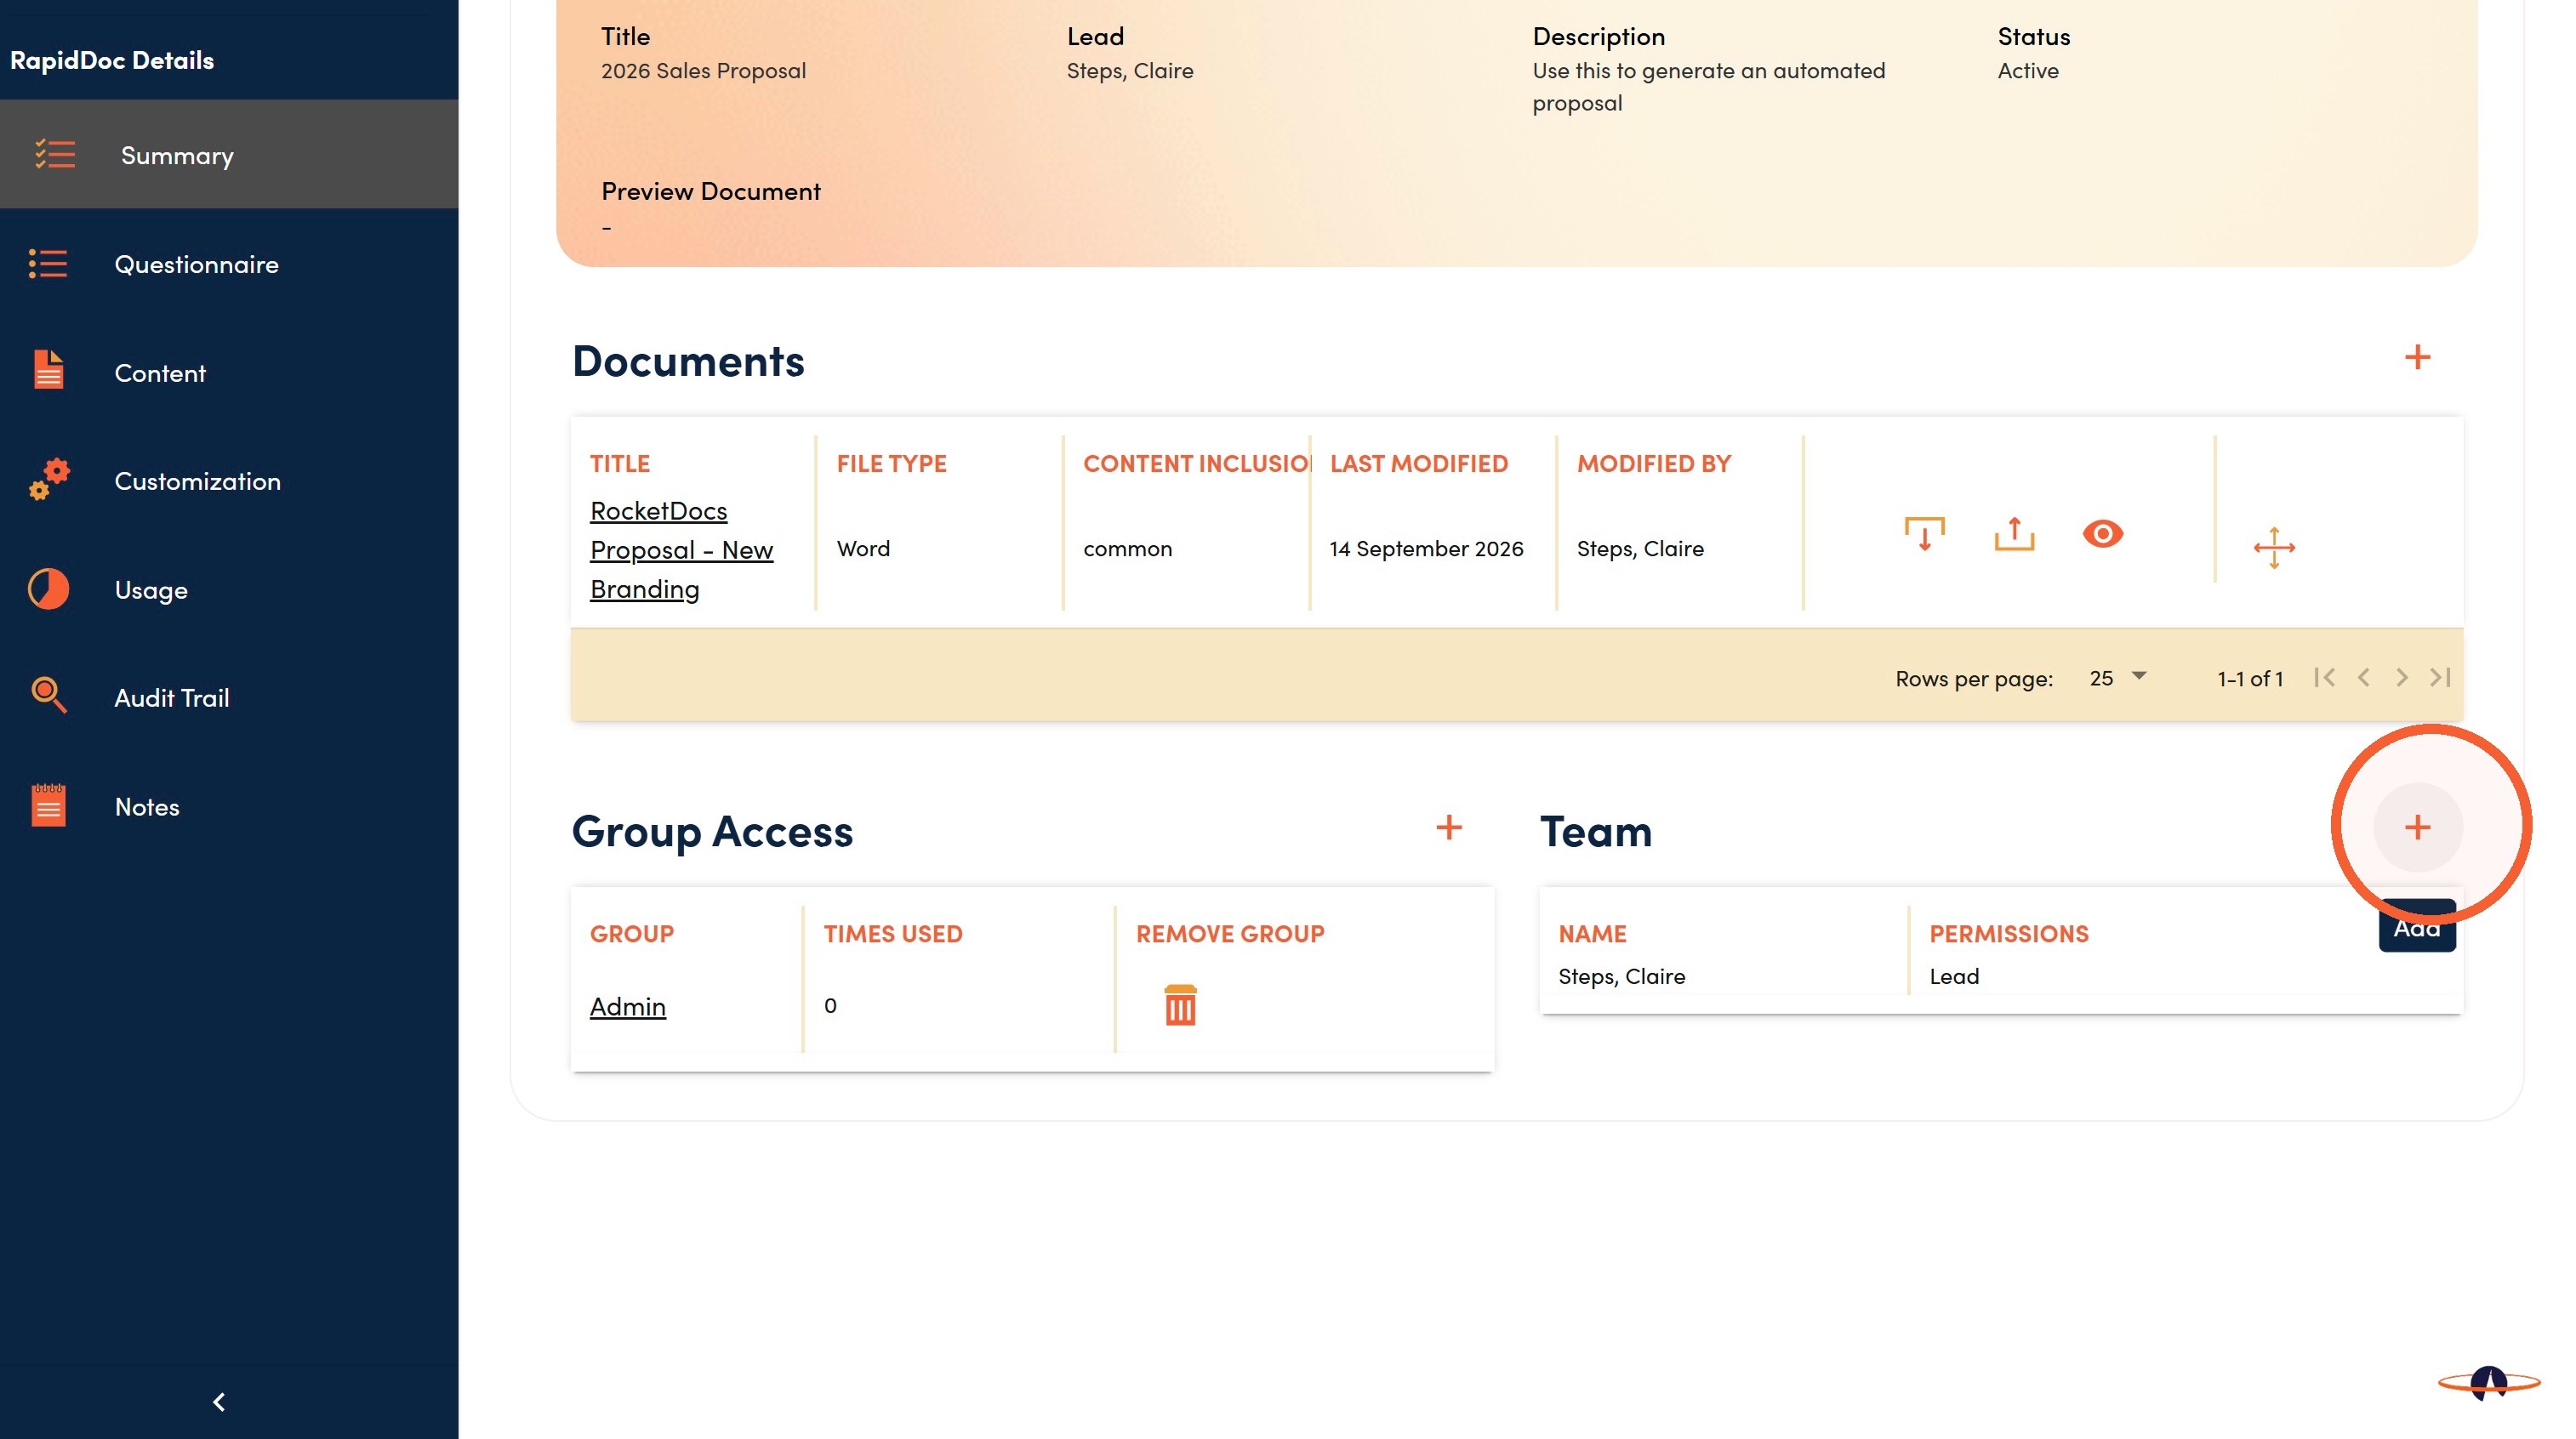
15. The Team section allows you to manage which users have access to edit this specific RapidDoc template.
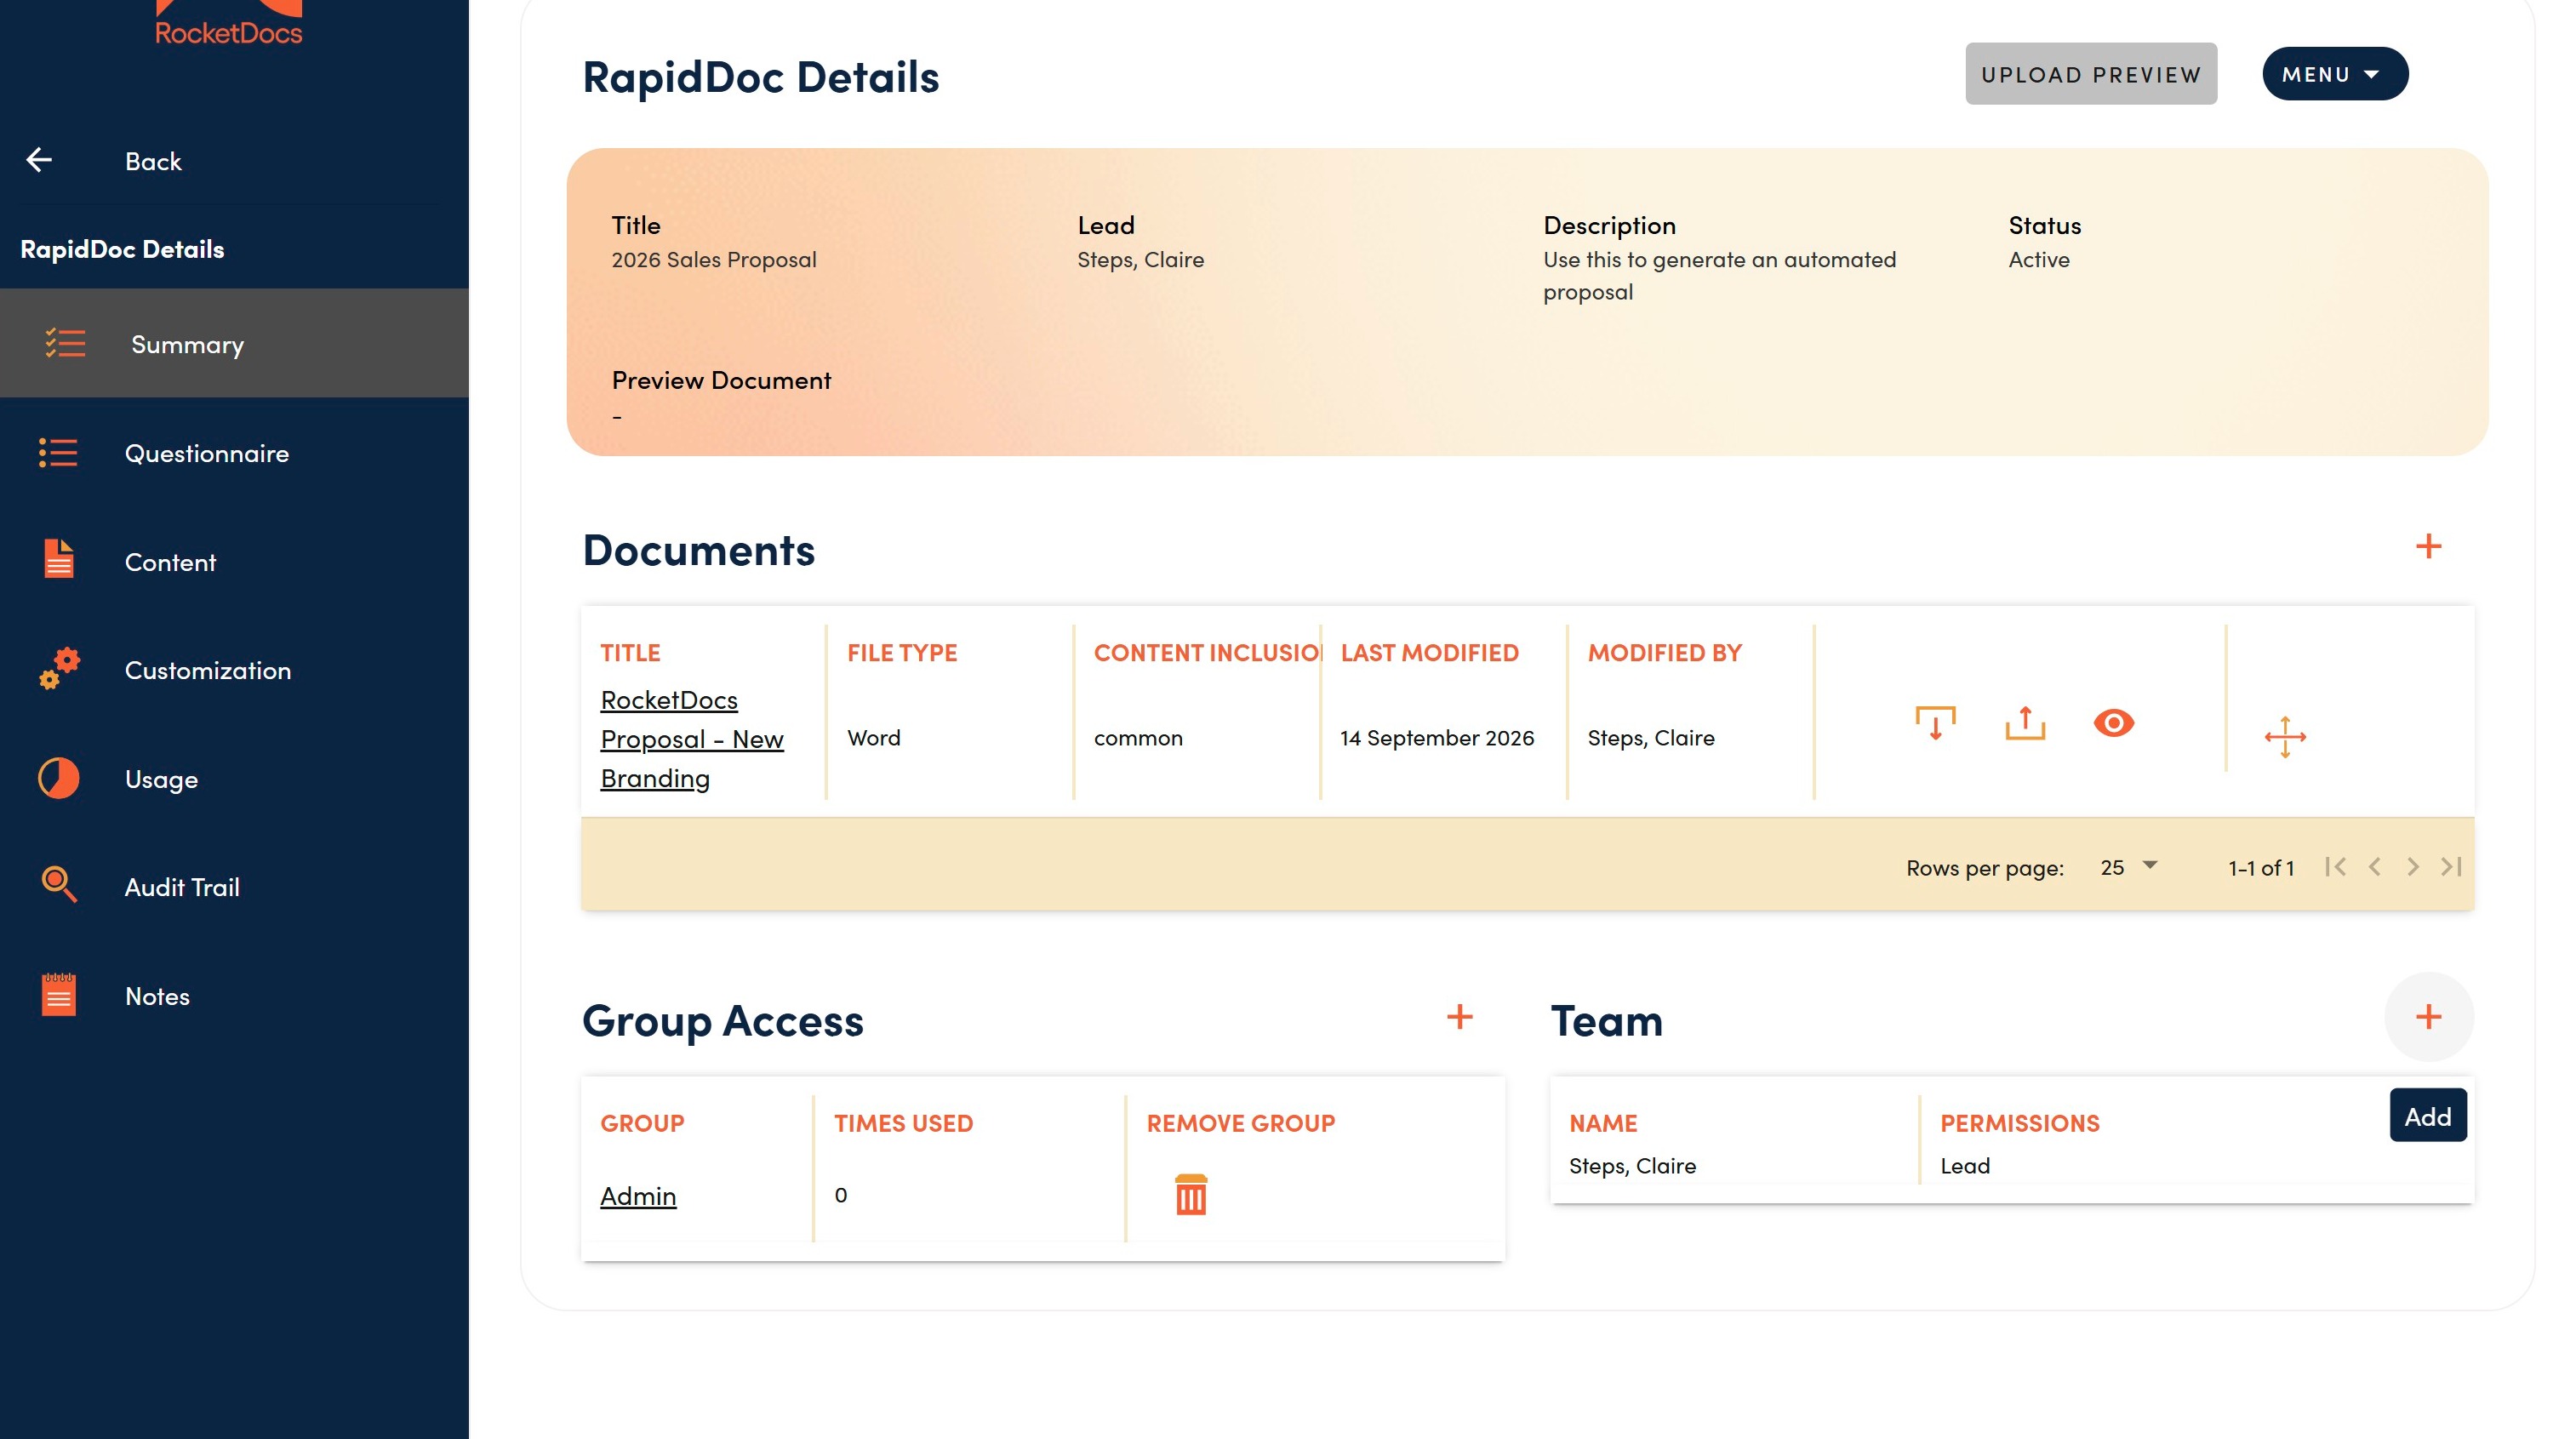
16. Click Add to access the permissioned user list.
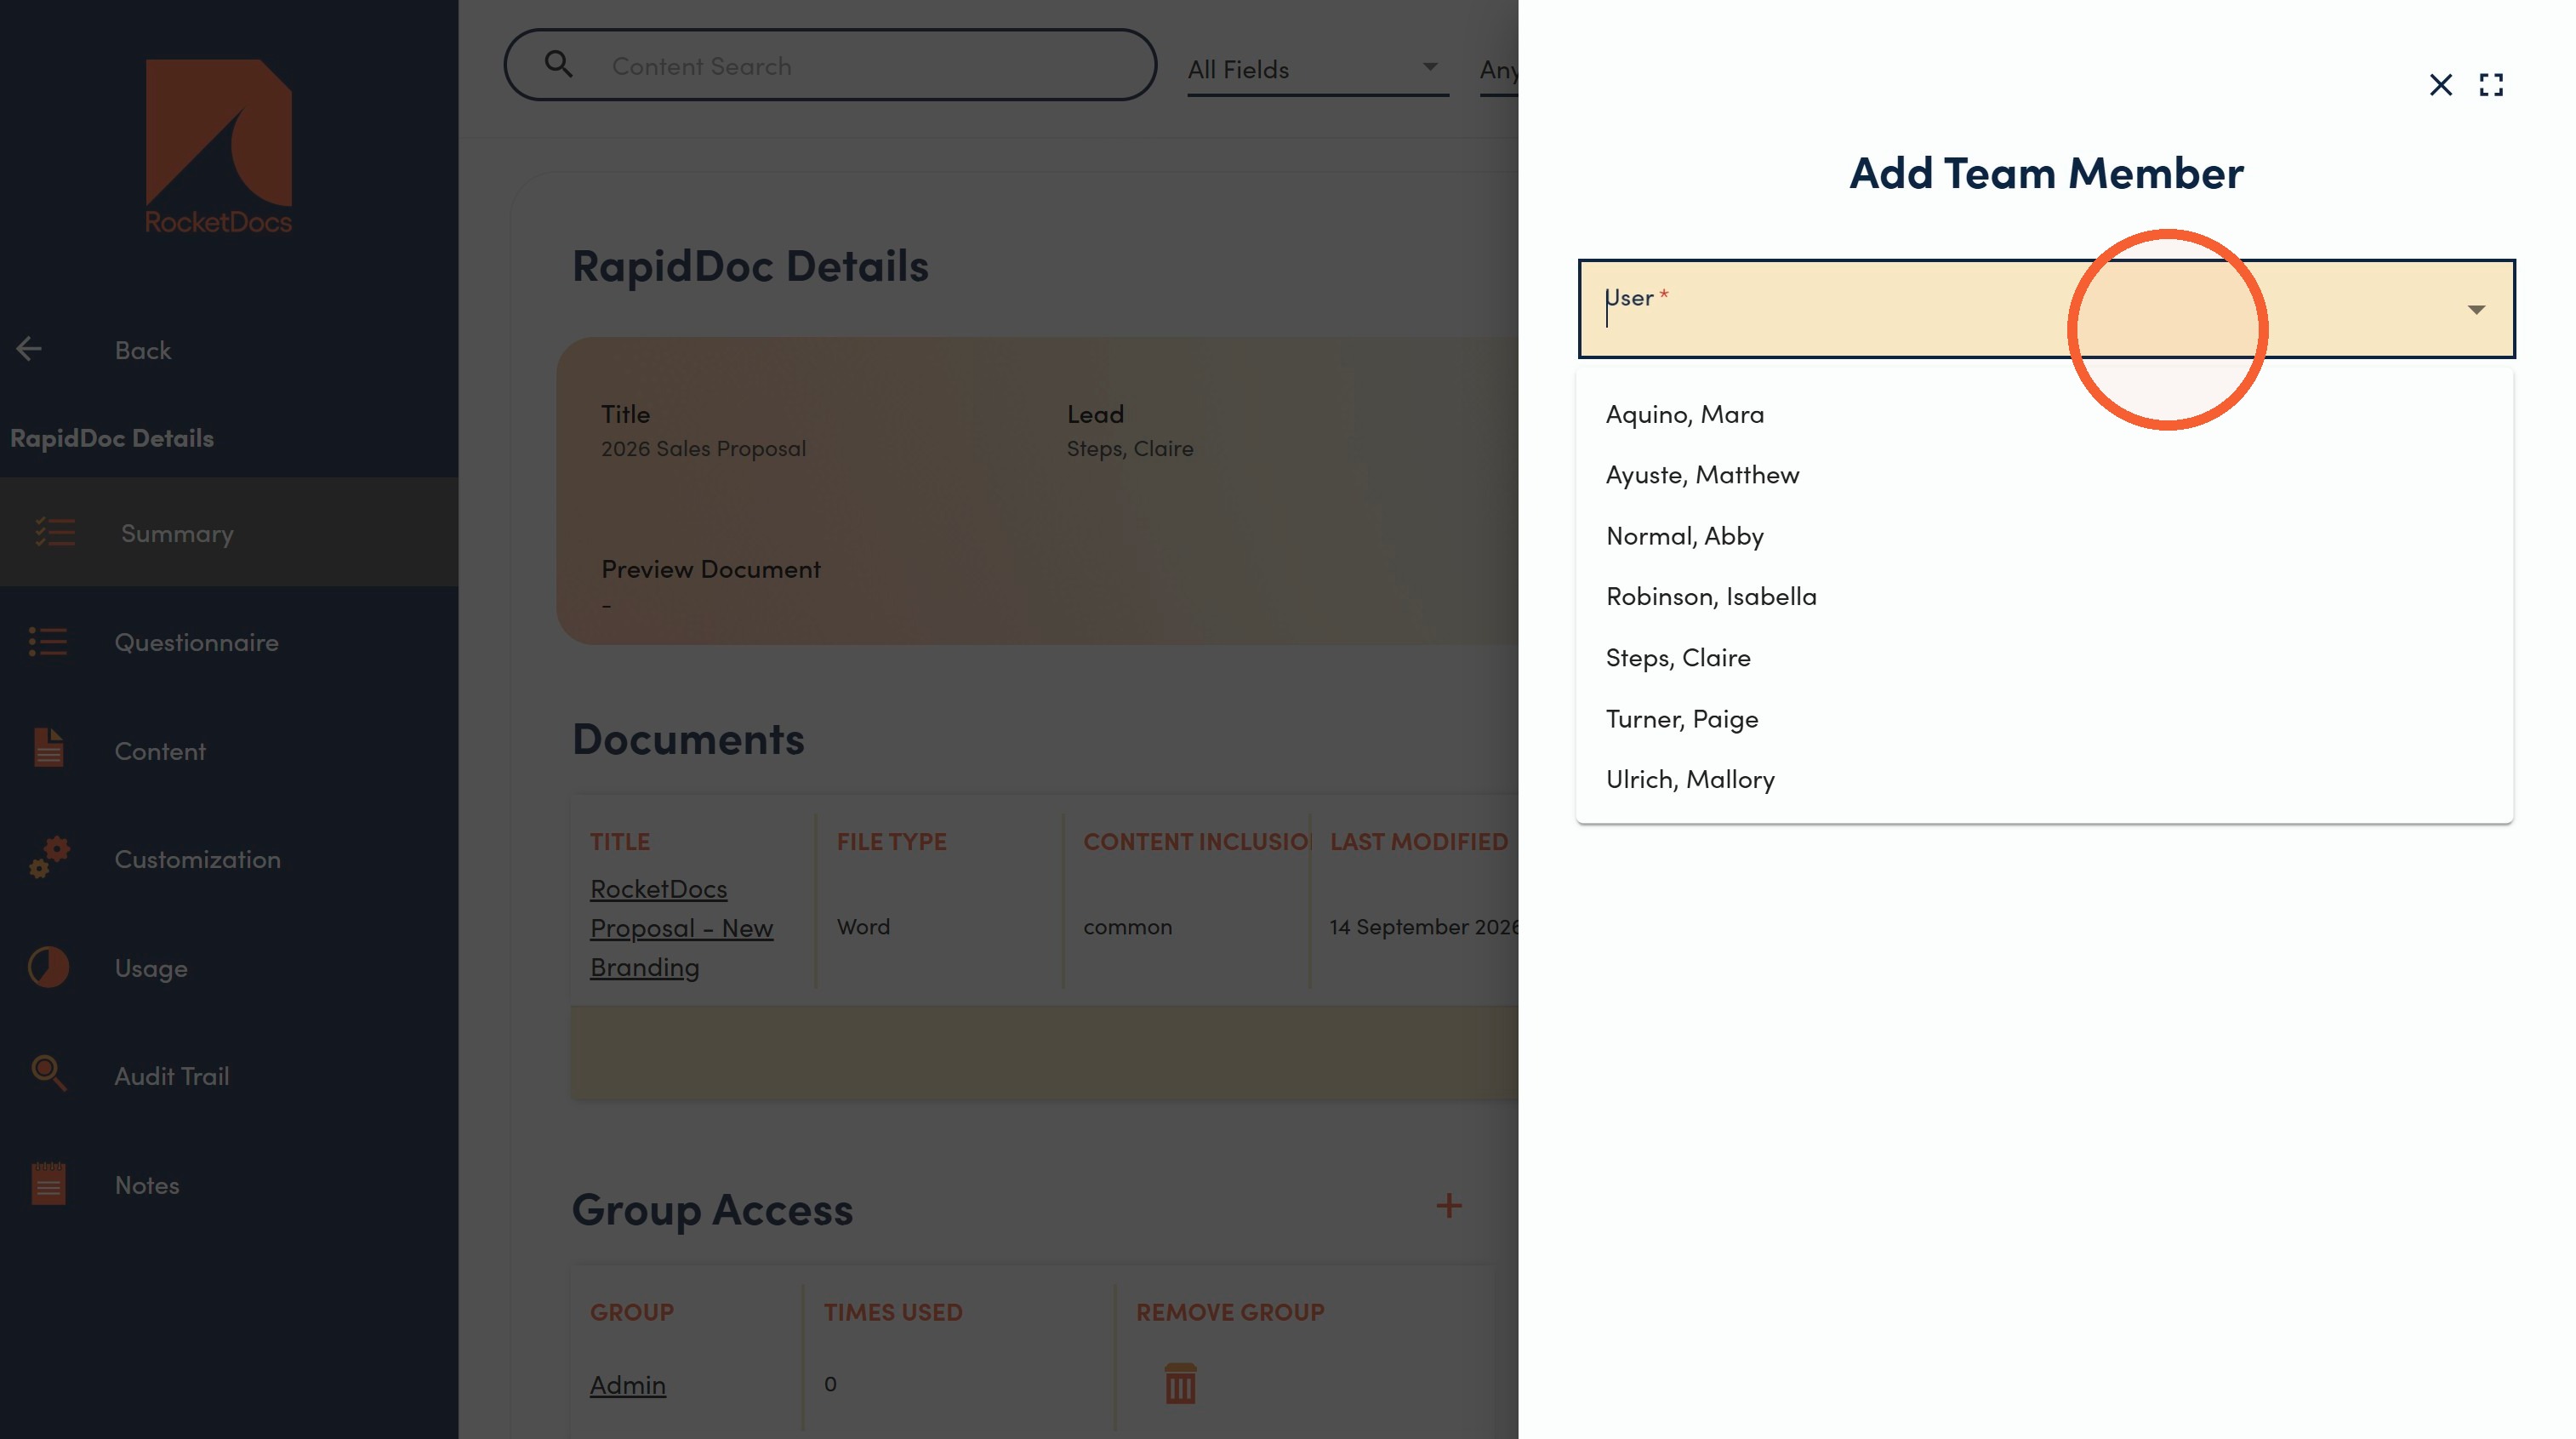
17. Click User then choose a name.
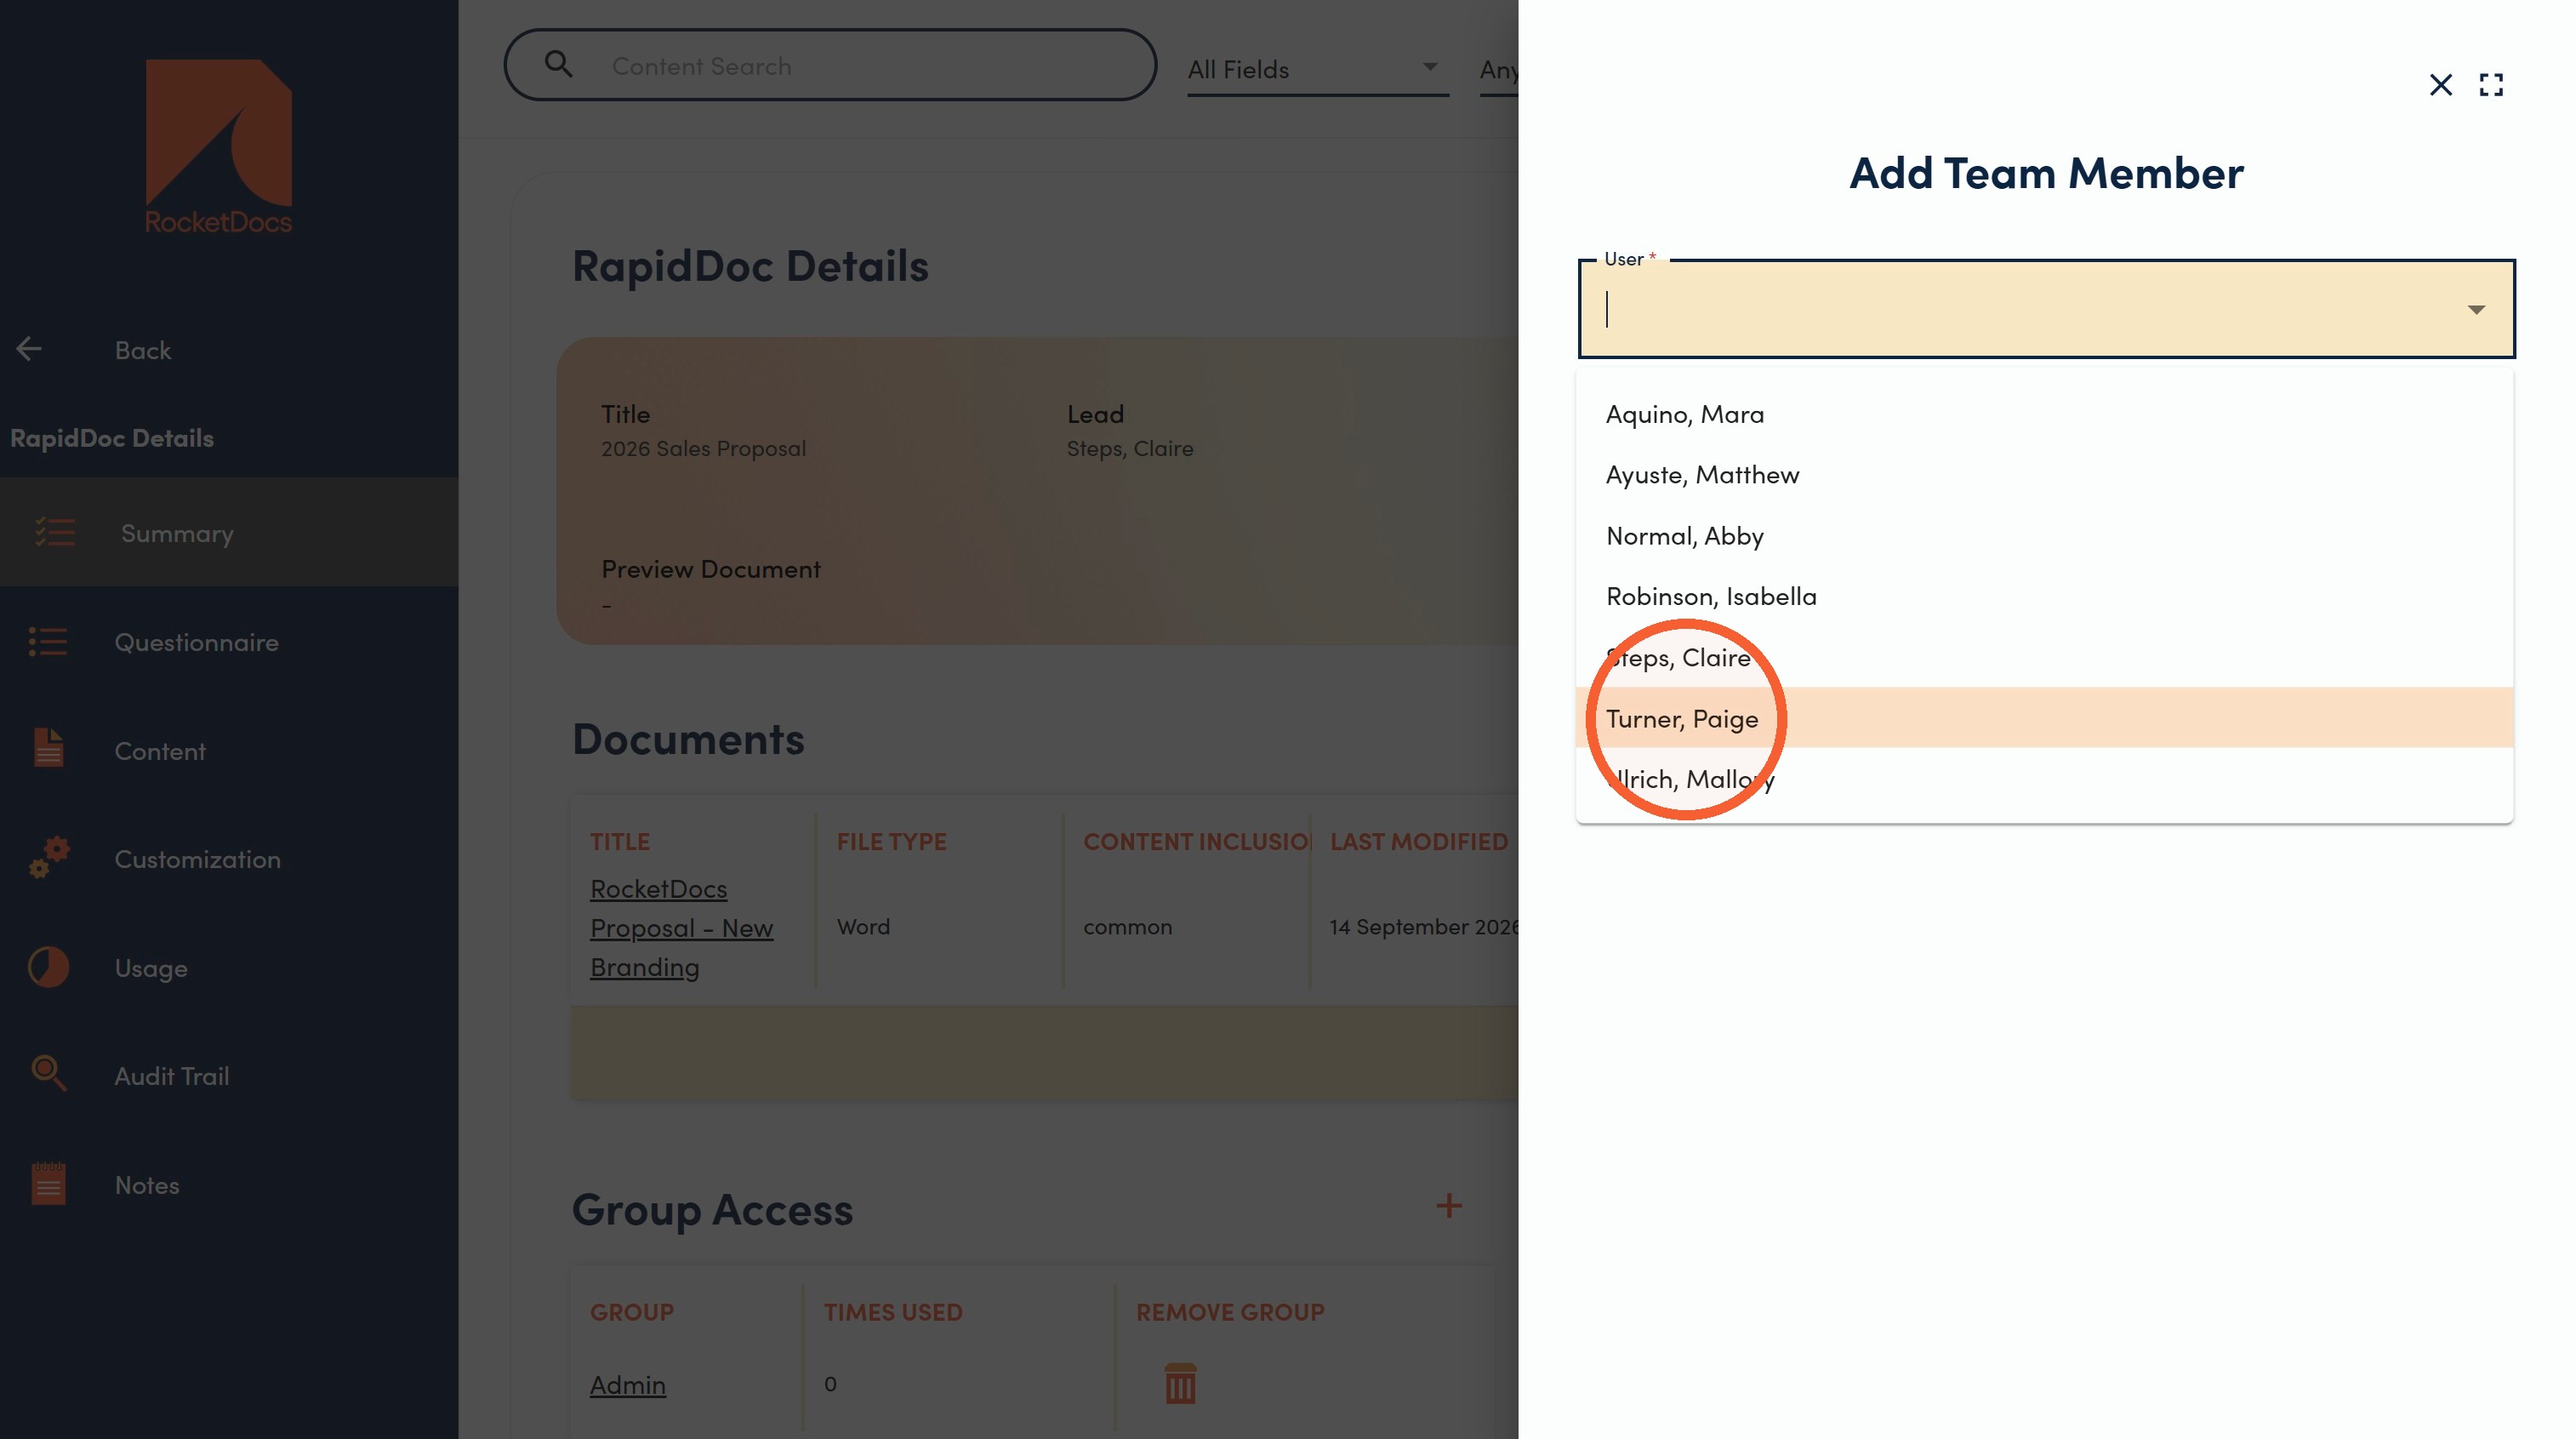
18. Click Save.